最近几家NAS大厂,陆续推出支援4K播放的NAS机种。而这次,有机会拿到内建使用英特尔最新一代Braswell N3050 1.6GHz双核心处理器,提供双Gigabit网路埠,当然4K高画质多媒体影音无缝流畅转档播放也没问题的Thecus N2810 2Bay NAS,然后搭配硬碟大厂Seagate NAS硬碟中最大容量的Seagate 8TB NAS HDD,对家庭使用者来说,是兼顾家中娱乐与大容量储存的好搭配!


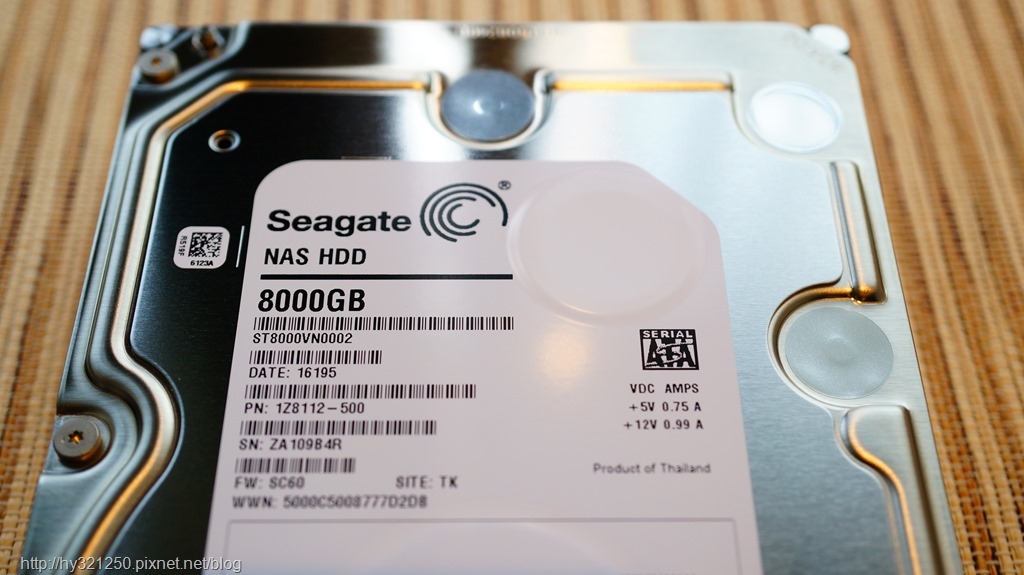
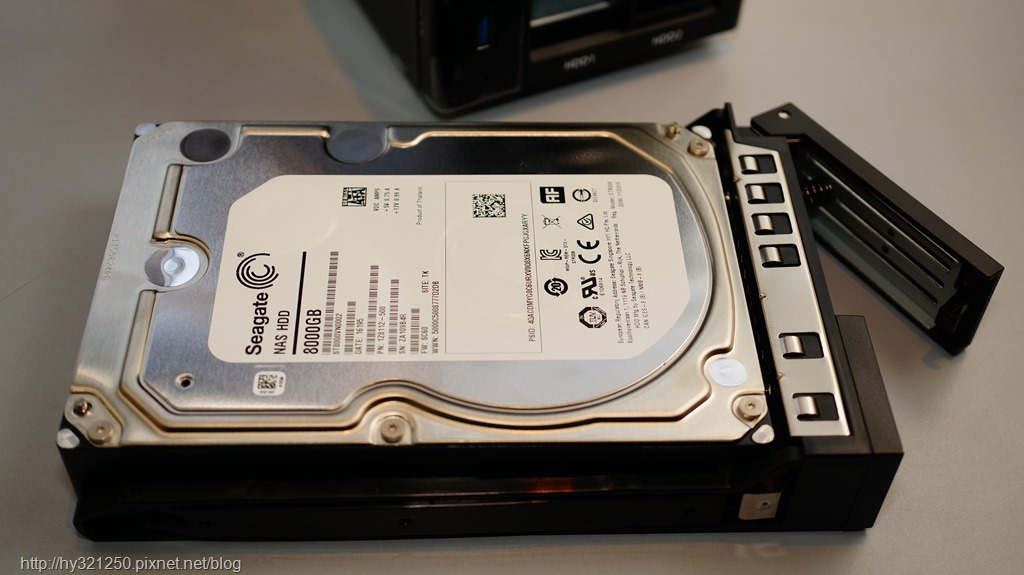
主角色卡司N2810 NAS开箱前,先看另一个不可或缺的要角「NAS专用硬碟」。而这次与N2810 NAS搭配的硬碟,是两颗大容量Seagate 8TB NAS专用硬碟(型号:ST8000VN0002)。
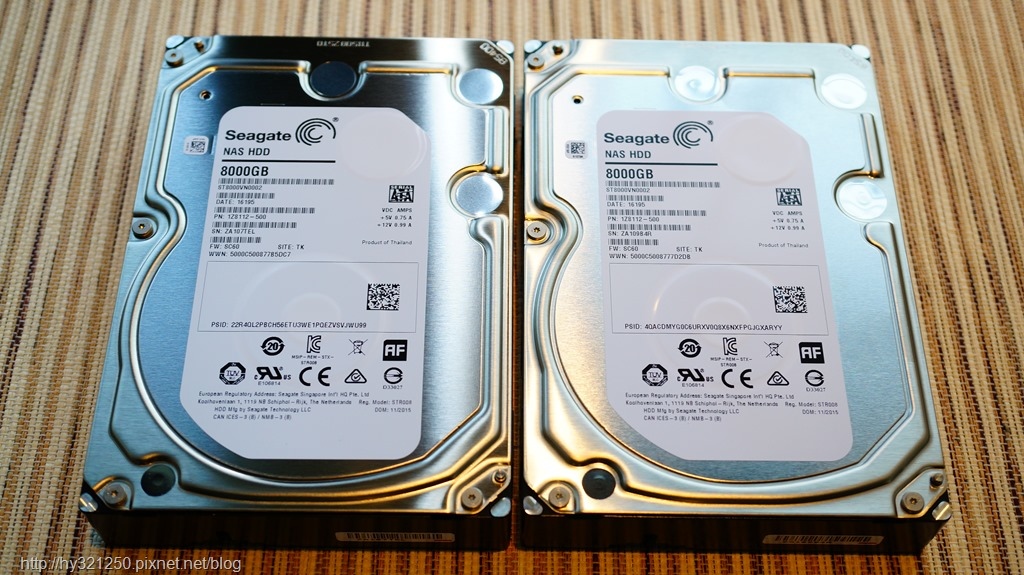
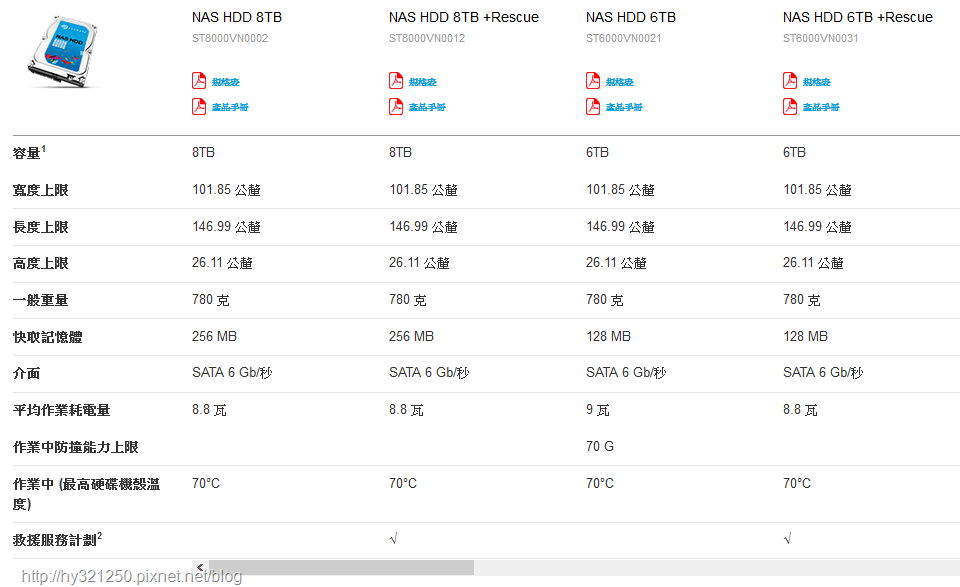
Seagate推出的NAS HDD,适用于1至5 Bay NAS系统。而这次搭配Thecus N2810 NAS的8TB Seagate NAS专用硬碟,是目前Seagate NAS HDD中容量最大的,因此也趁这个机会,简单对这个型号NAS硬碟进行简单的开箱与测试,至于相关的测试数据,请参考"
【开箱】大容量Seagate 8TB NAS专用硬碟ST8000VN0002,1Bay或2Bay NAS大储存容量媒体的好选择"这篇文章。
来看主角Thecus N2810 NAS吧!
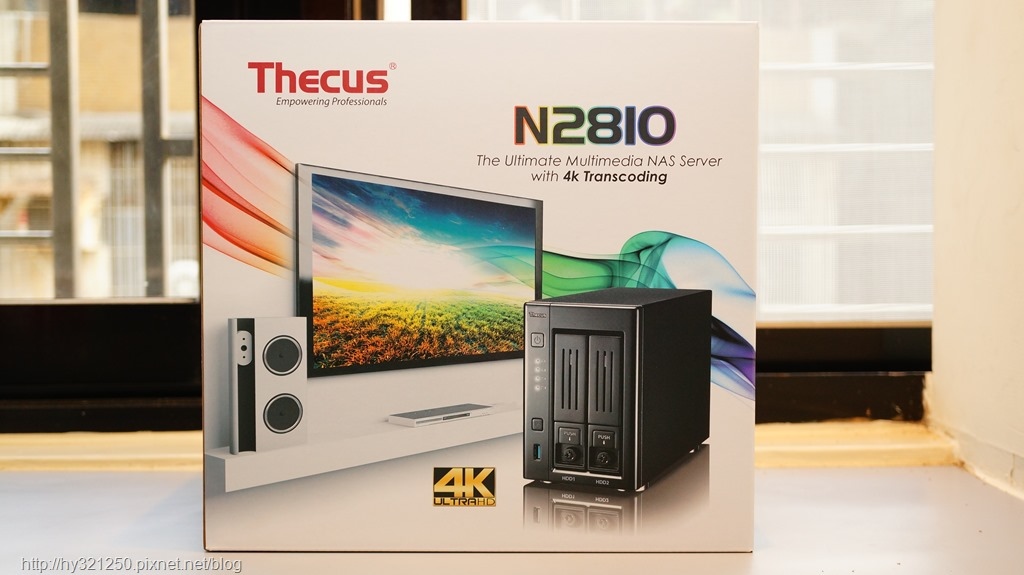
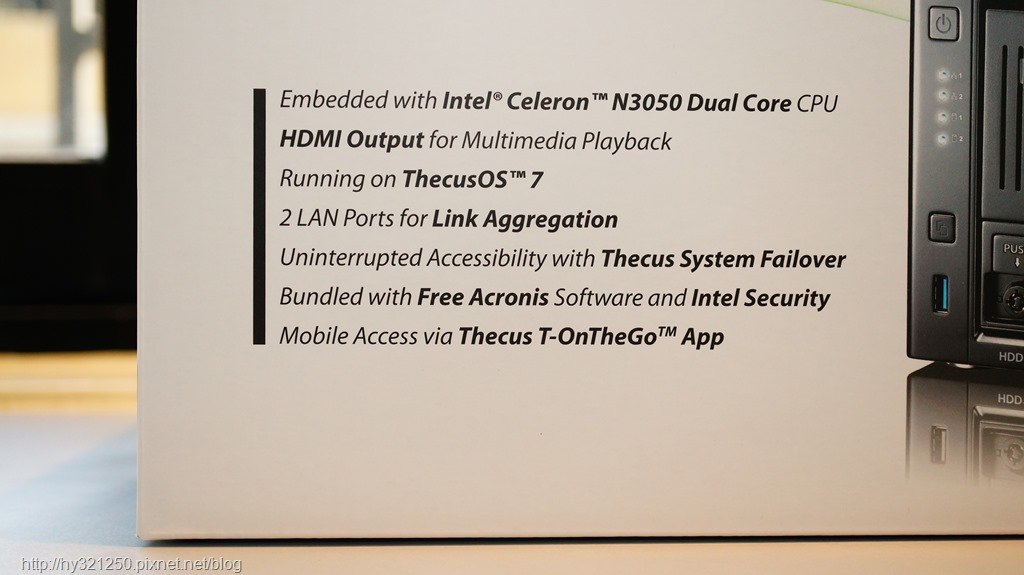
外盒以文字介绍Thecus N2810的软硬体重点规格。
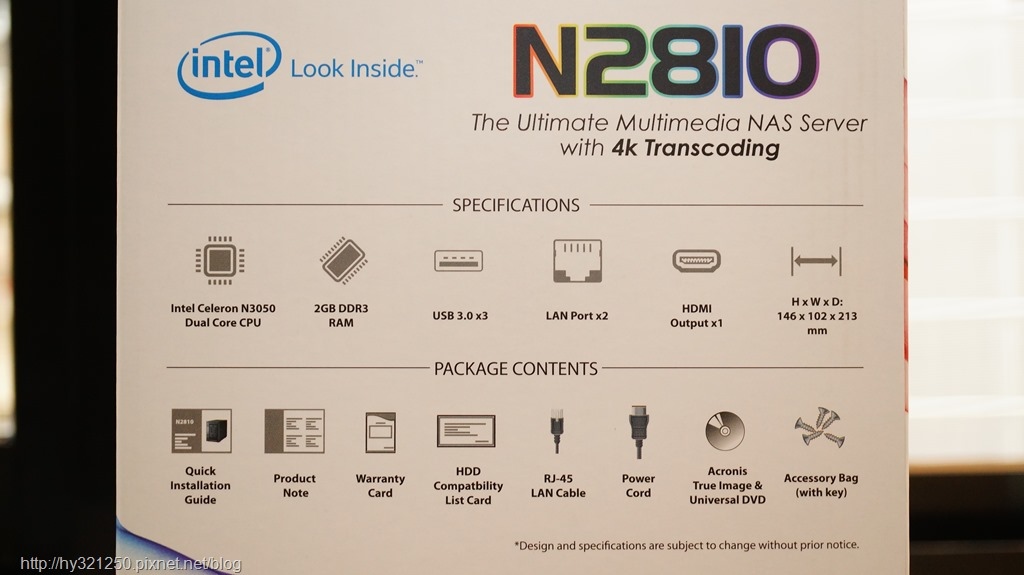
N2810重点规格与配件介绍。
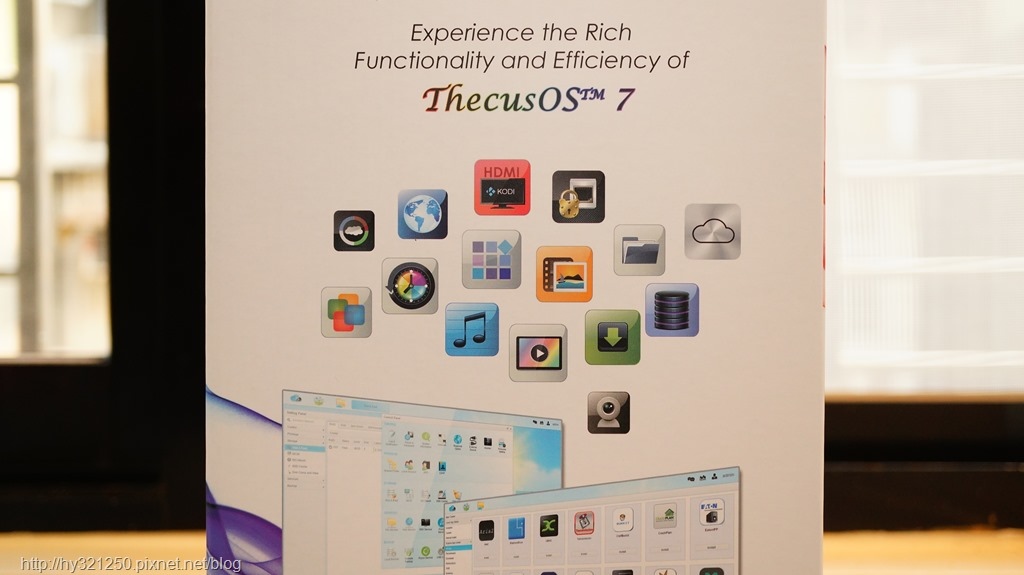
除了使用可4K高画质多媒体影音无缝流畅转档播放的Intel Celeron N3050双核心处理器,我另外很感兴趣的,就是N2810搭配使用的最新图形化操作系统ThecusOS 7了。
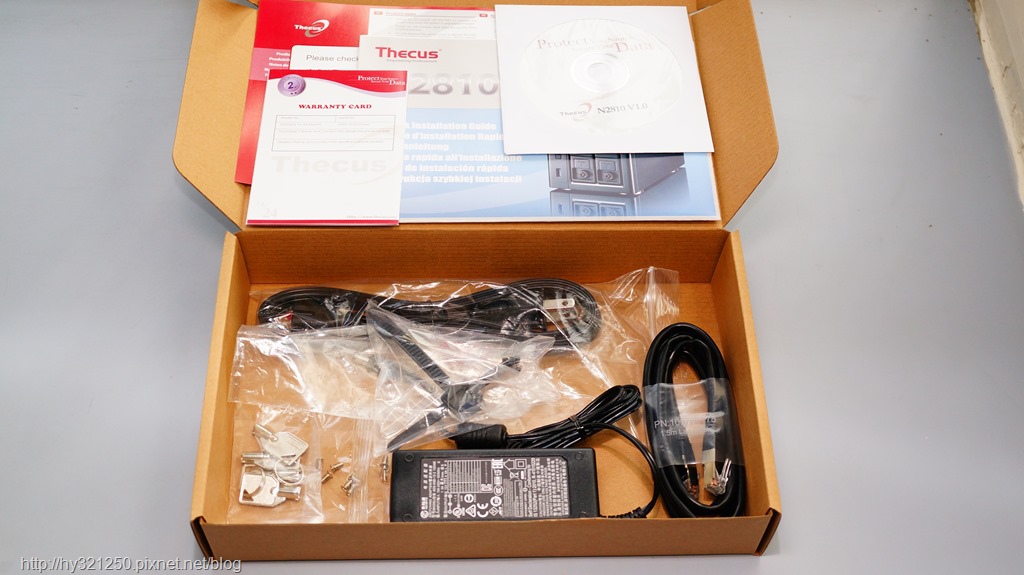
Thecus N2810 NAS提供的配件,包括了简易说明书、保证书、安装与Acronis TrueImage备份软体光碟、网路线、电源线、KEY与螺丝包。
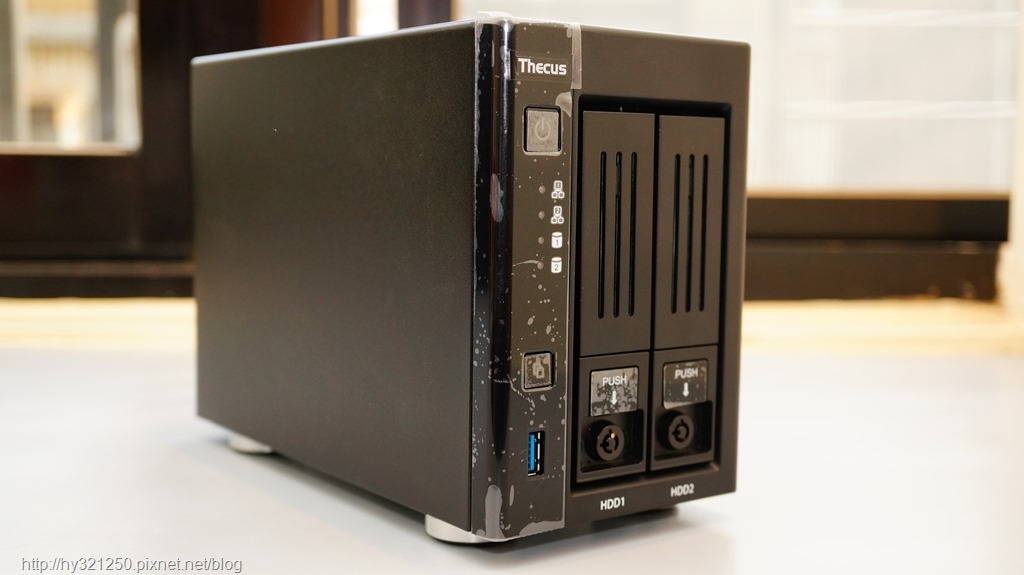
主角Thecus N2810 Pro NAS登场。
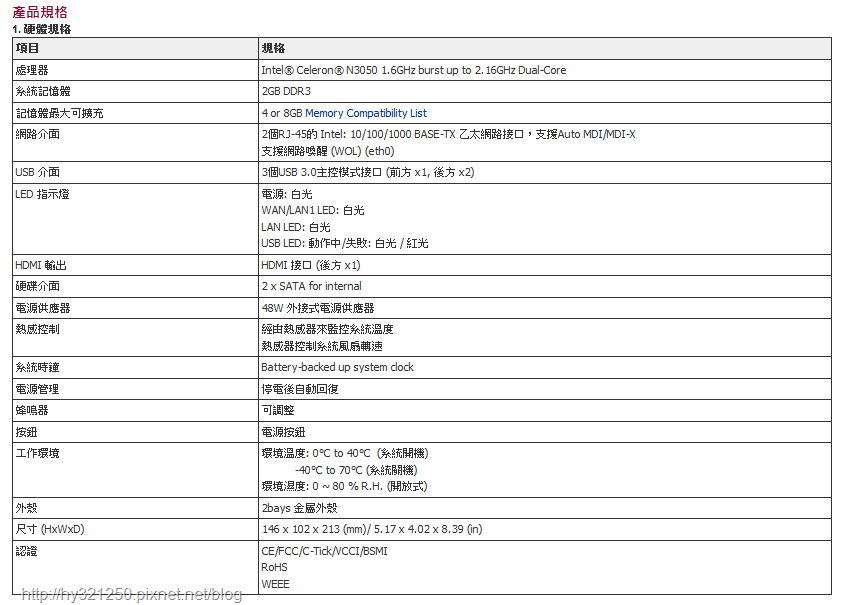
先来看一下官网对N2810 NAS的主要硬体规格介绍。(完整资讯
请点选这里观看)
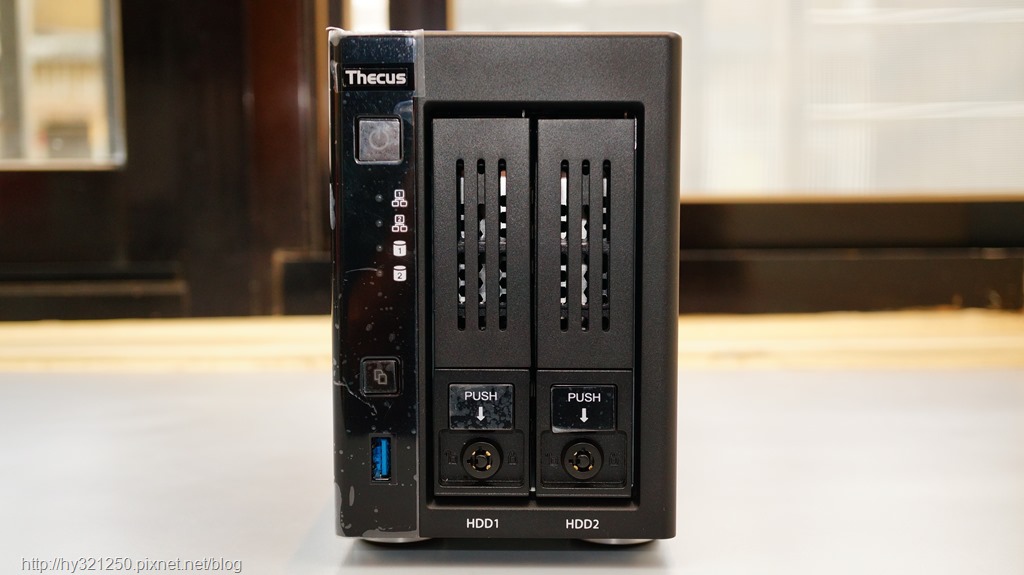
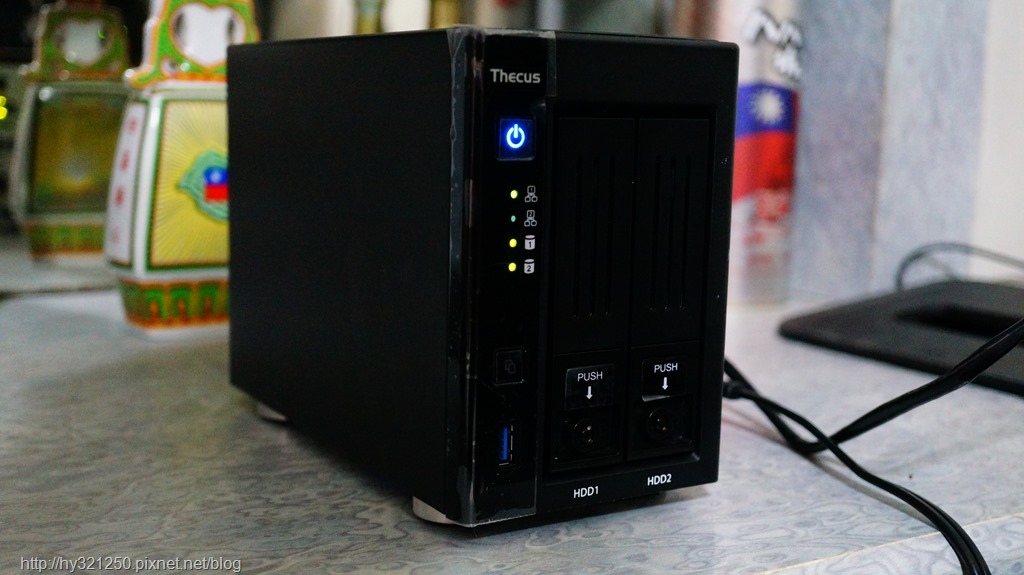
Thecus N2810 NAS正面。
电源按钮、网路埠与硬碟状态灯号。
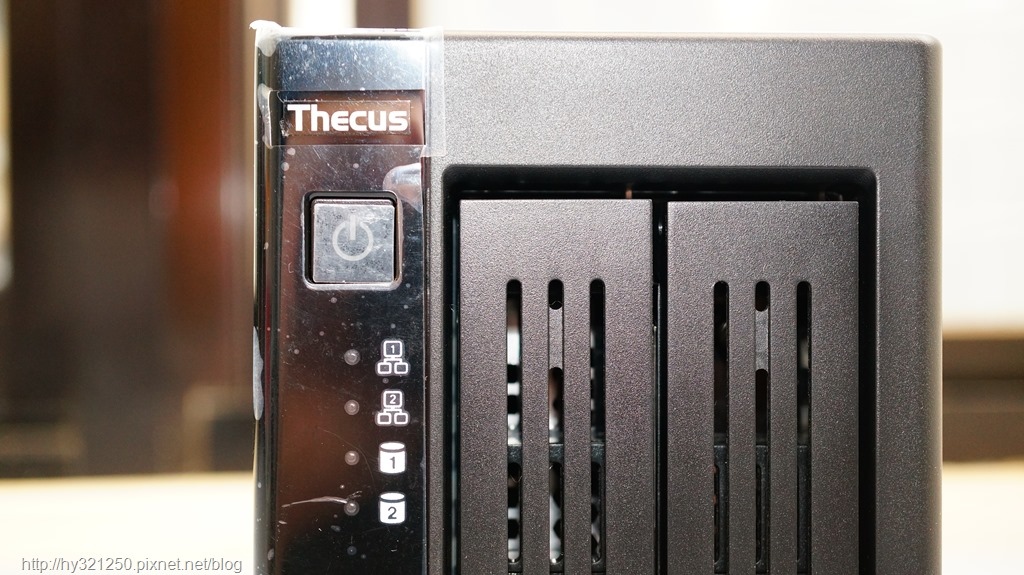
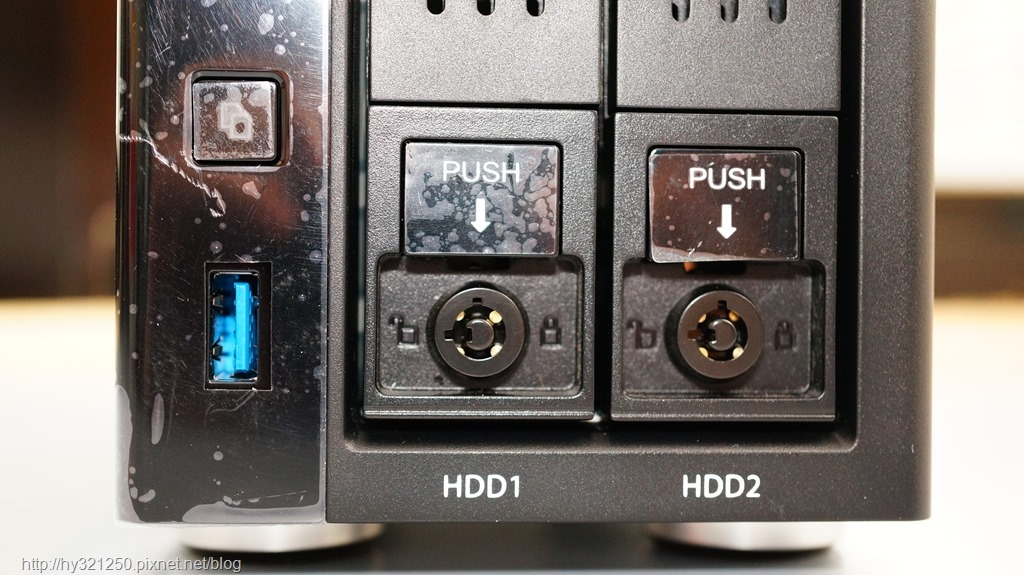
USB快速复制按钮与USB 3.0埠。
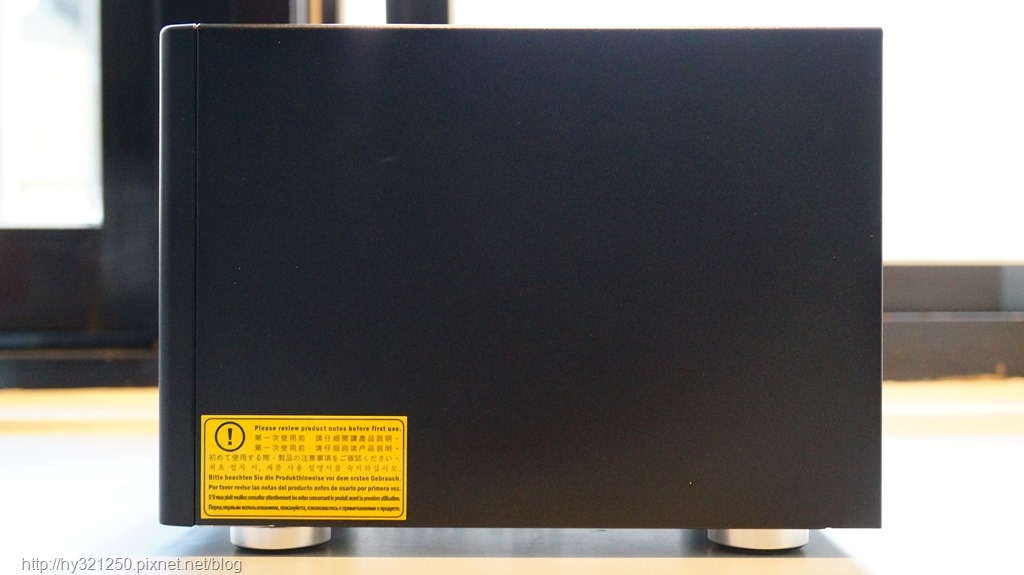
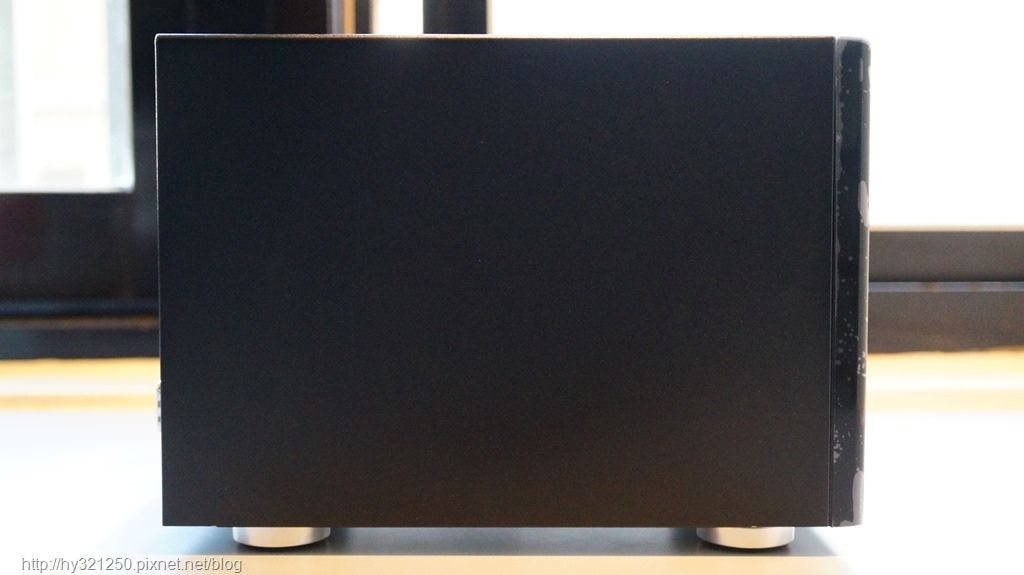
左、右侧边,没有任何的散热孔。
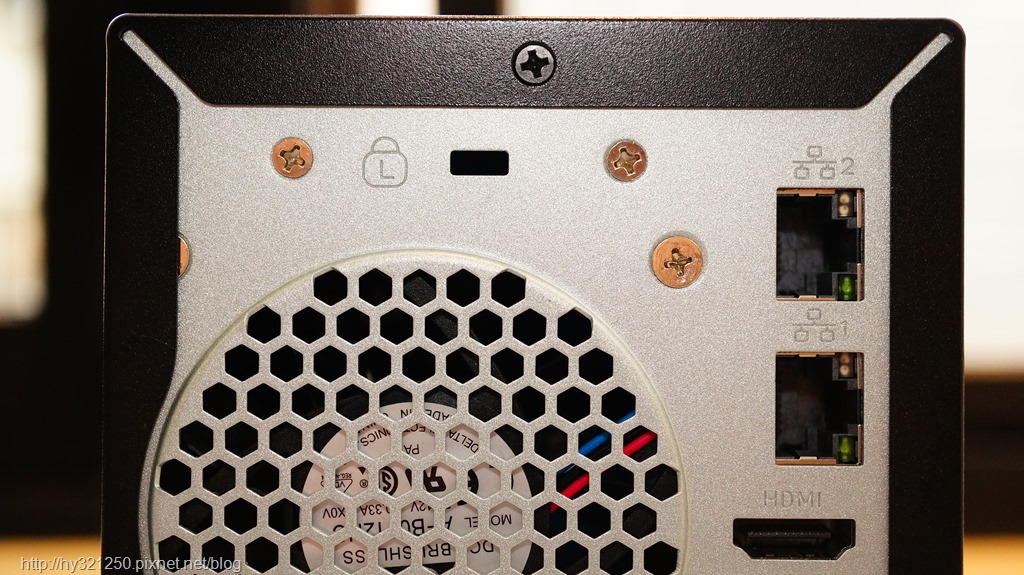
N2810 NAS后面。
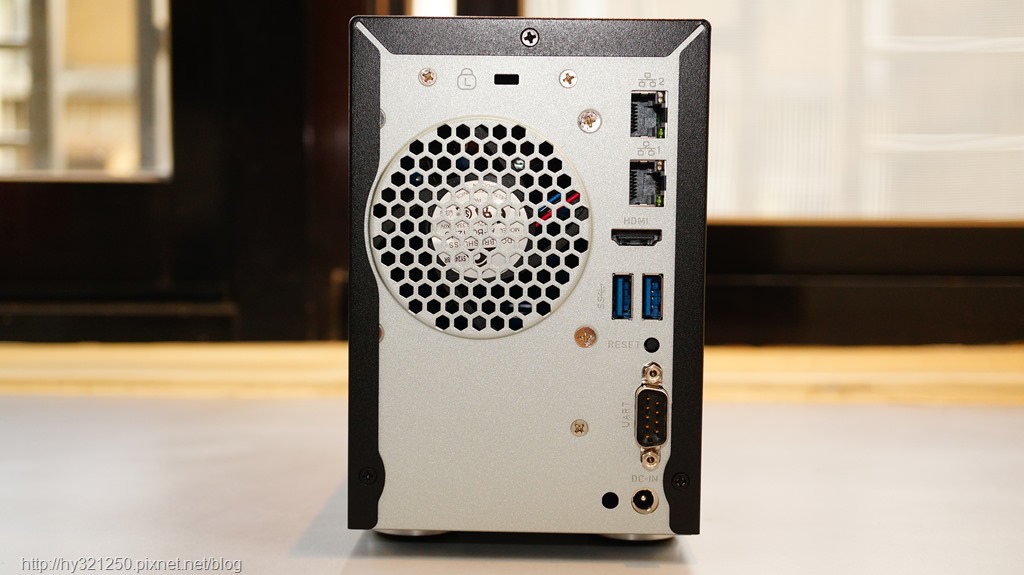
防盗锁孔、两个Gigabit网路埠与HDMI埠。
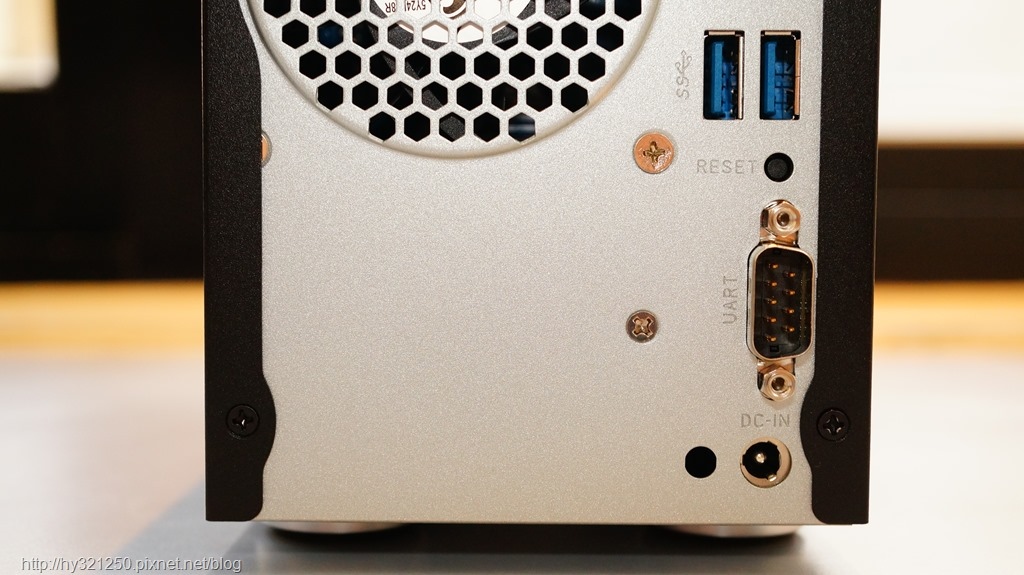
两个USB 3.0埠、Reset键、Serial Port与电源插孔。
底部。

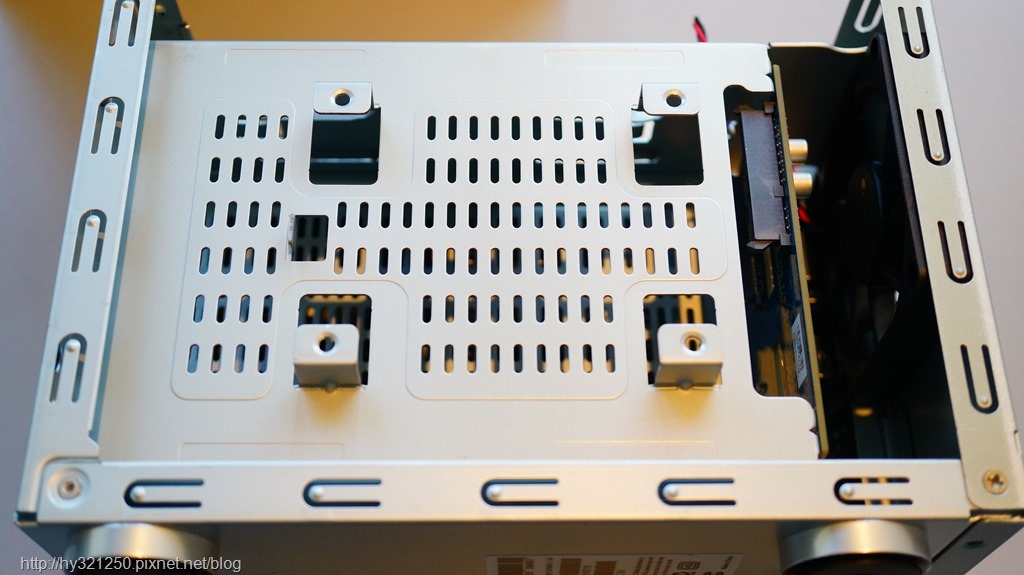
Thecus N2810 NAS要拿掉外壳不难,而拿掉外壳后,就会看到预留的一组2.5吋硬碟锁孔,或许之后色卡司会推出内建SSD快取,或是使用Windows OS的型号。
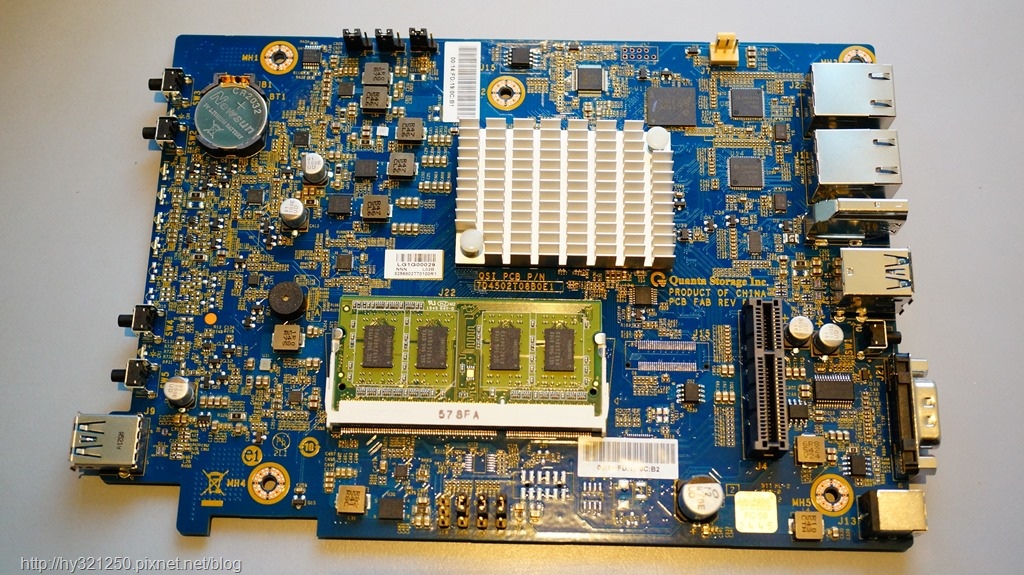
后来,感觉要拆掉看一下N2810 NAS主板好像还算简单,就试着拆卸看看,而最后也有成功。
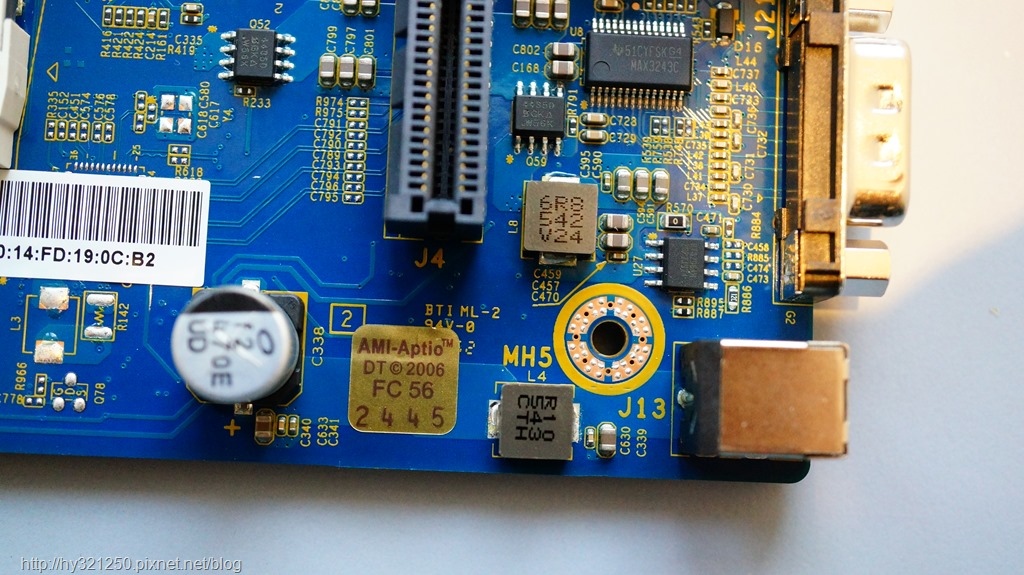
AMI BIOS。
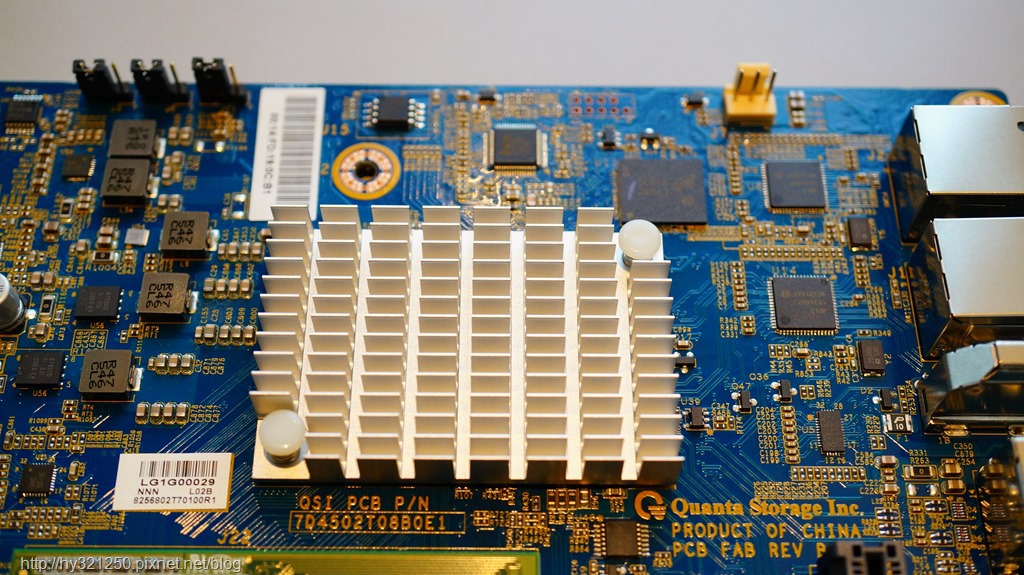
藏在散热片下的Intel Celeron N3050双核心处理器。
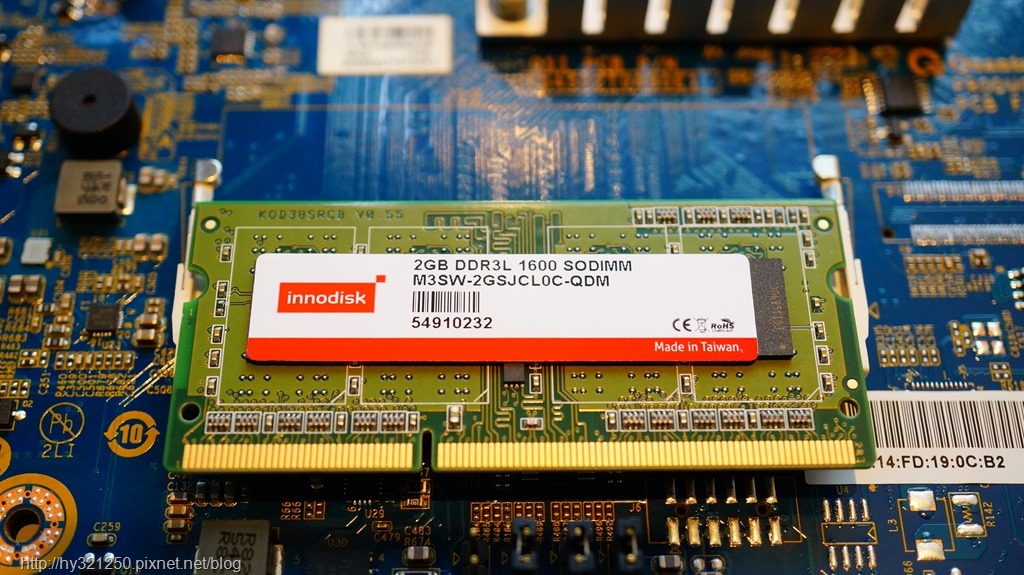
Thecus N2810 NAS只有一个记忆体插槽,所以要更换更大容量记忆体时,就要将原先的随附的2GB DD3L RAM拿掉,才能装上新的记忆体。
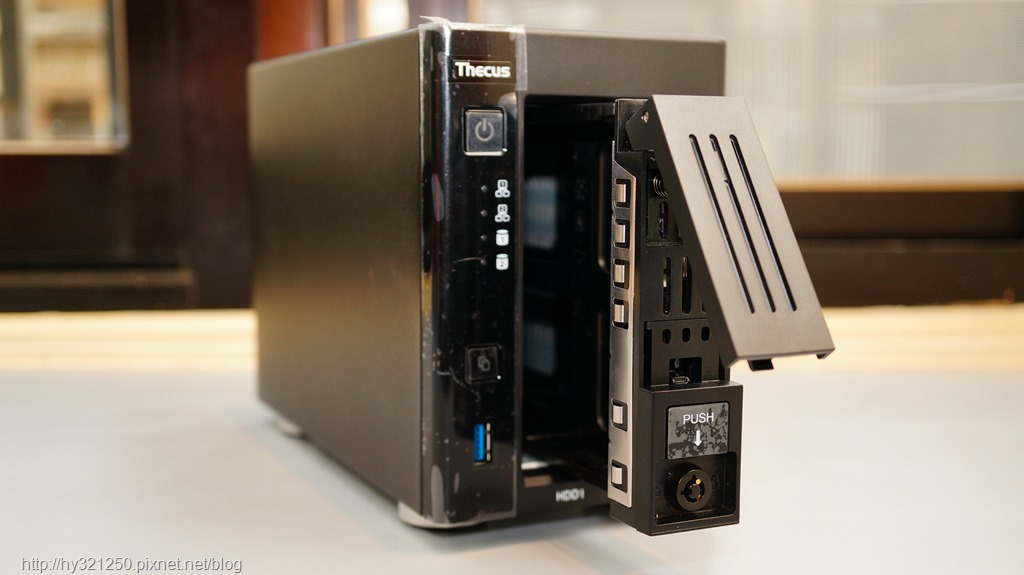
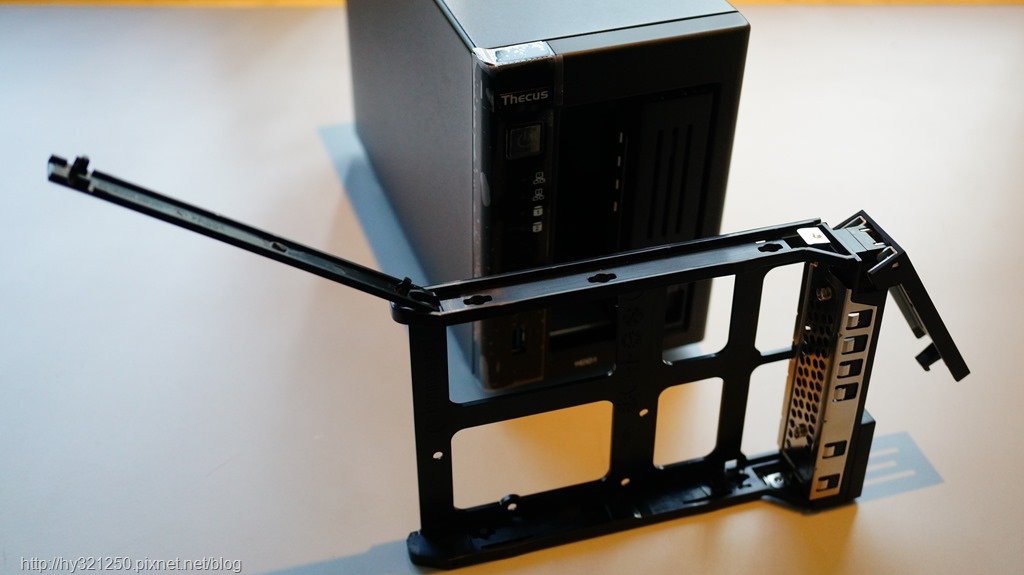
N2180 NAS的可热插拔硬碟匣,要取出时,按压前端Push区域,就会自动弹出。另外,配件的钥匙,可以用来锁住硬碟硬碟匣,避免被人随便抽取拿走。
使用免螺丝设计的N2810 NAS硬碟匣,3.5吋硬碟在安装时,不需要配件的螺丝。
Seagate NAS 8TB HDD安装在硬碟匣的样子。
将两个装好Seagate NAS 8TB HDD的硬碟匣,陆续装回N2810 NAS里。
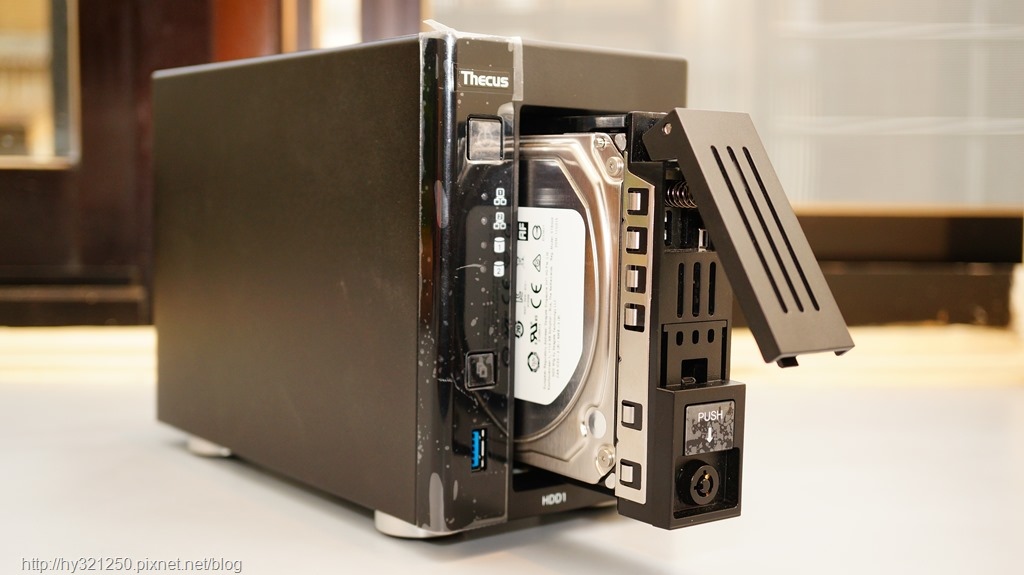
N2810 NAS装上硬碟装后,再接上网路线,就可以打开电源按钮,正式开始使用了。

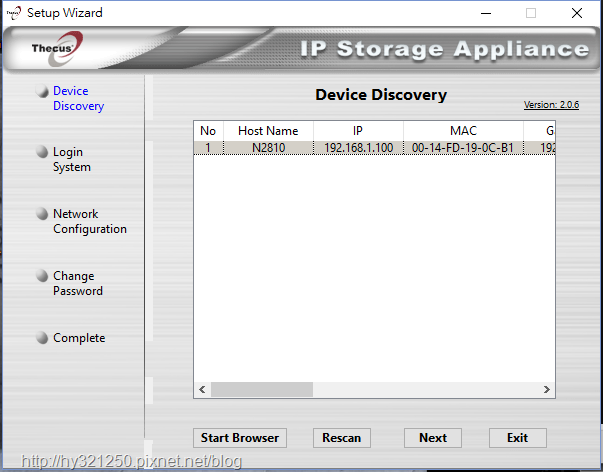
在电脑安装并开启设定精灵软体,已连接网路(预设IP:192.168.1.100)的N2810 NAS就会显示在清单中。
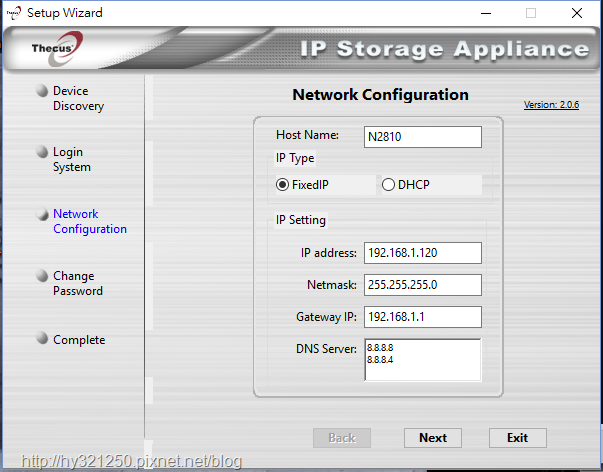
输入admin帐号与初始预设密码,然后依据自己的使用情况,进行网路设定。
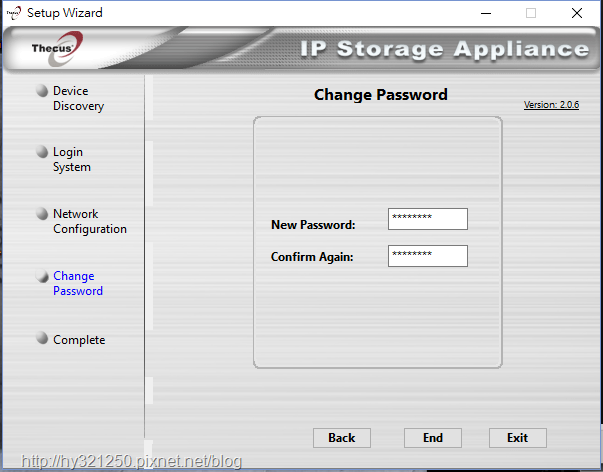
重新设定admin帐号密码。
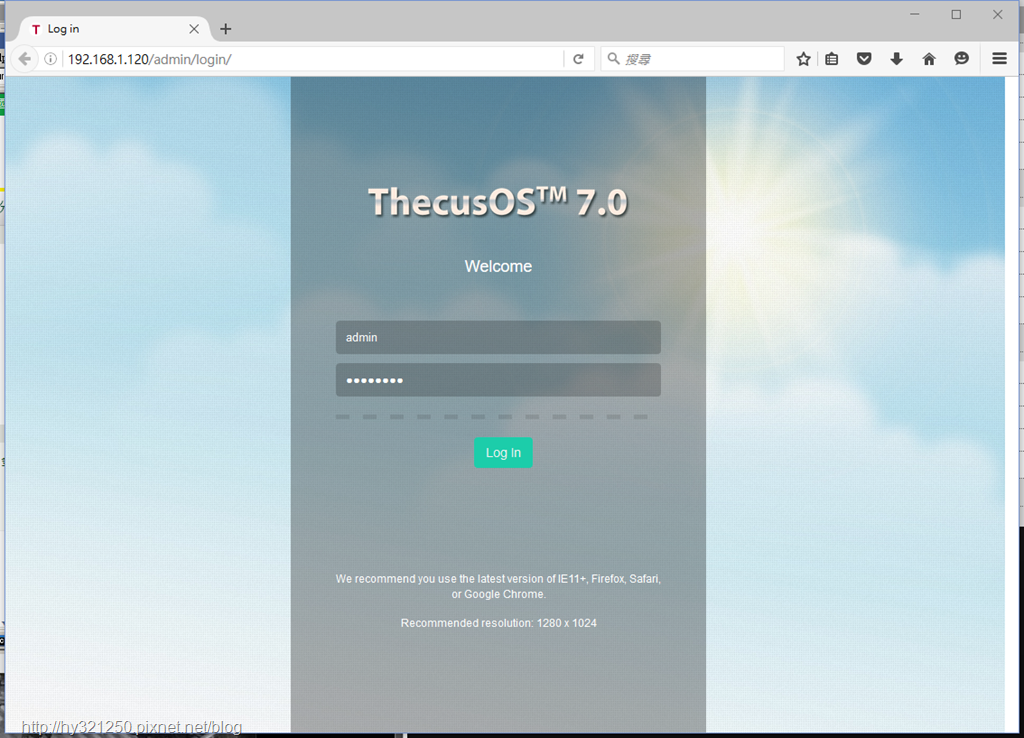
设定结束后,开启浏览器,输入自行设定的IP,就会进到新版图形化操作系统ThecusOS 7的登录画面(预设是英文语系画面)。
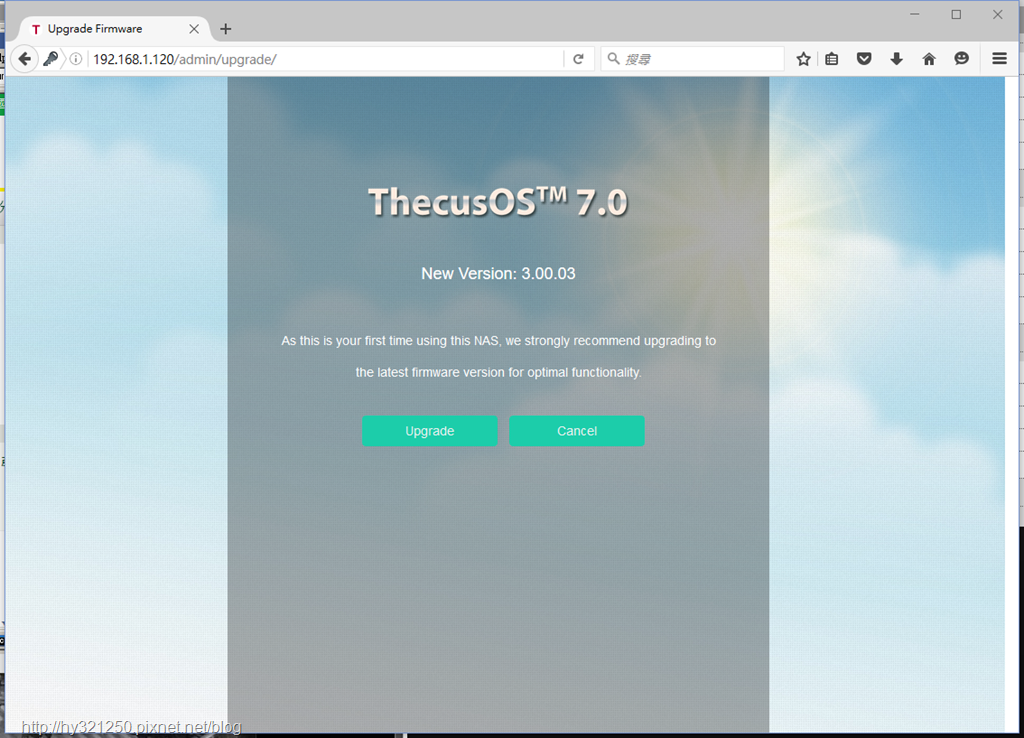
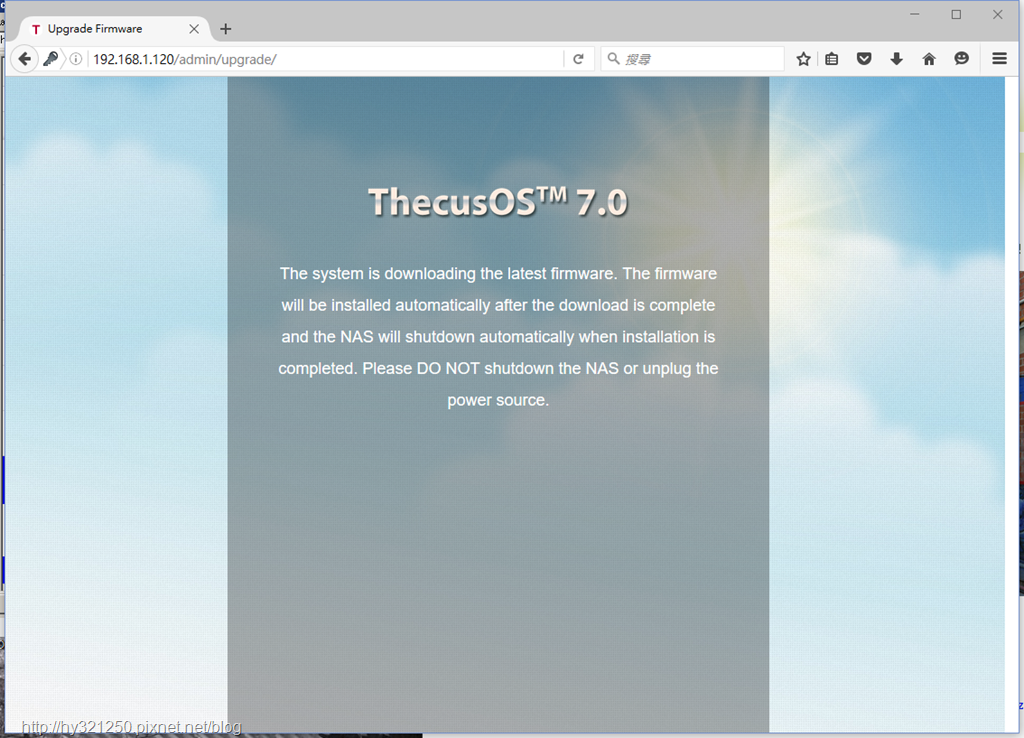
第一次输入帐号与密码后,系统会先检查有没有新版本OS可以下载,如果有的话,可以在此选择下载直接更新。

之前曾经体验过好几台其它型号的Thecus NAS,当时自己觉得有最大进步空间部分,就是操作系统部分如果图形化介面的话,应该会吸引更多一般使用者使用。而这部分,宏正科技也在最新版本的ThecusOS 7改为图形化操作介面了。
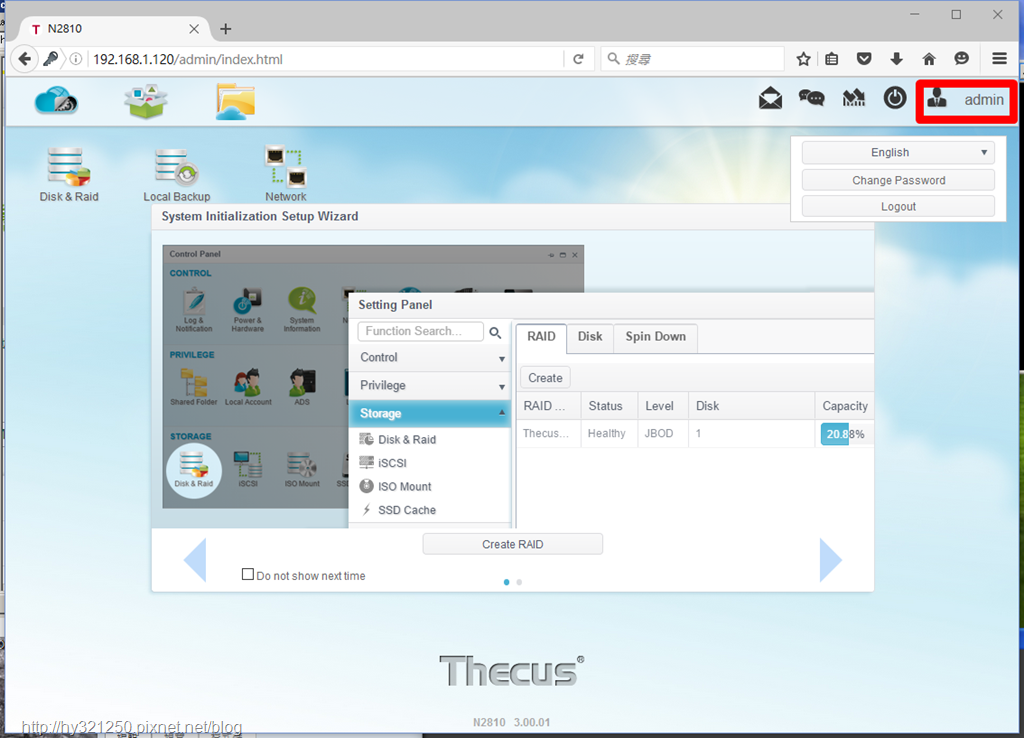
由于预设是英文语系画面进到管理画面首页之后,可以先点选右上角的语言选项下拉清单,将语系改成繁体中文。
点选资源监控图示,可显示或收起资源监控看板。

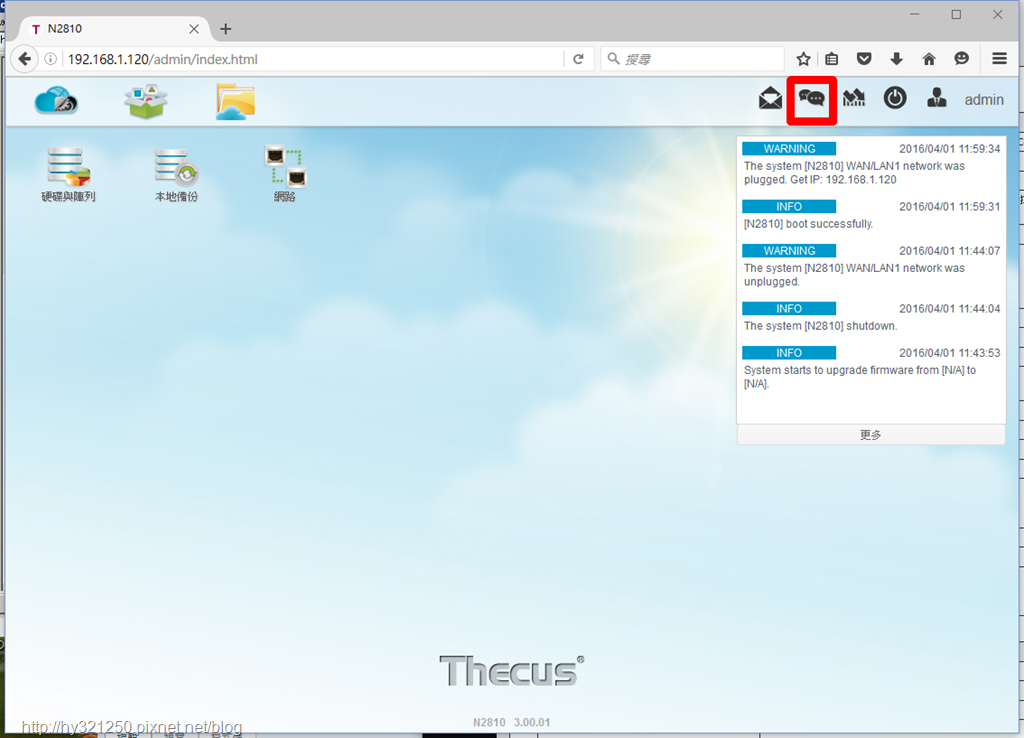
点选系统记录图示,可看到系统最近记录的重要讯息。
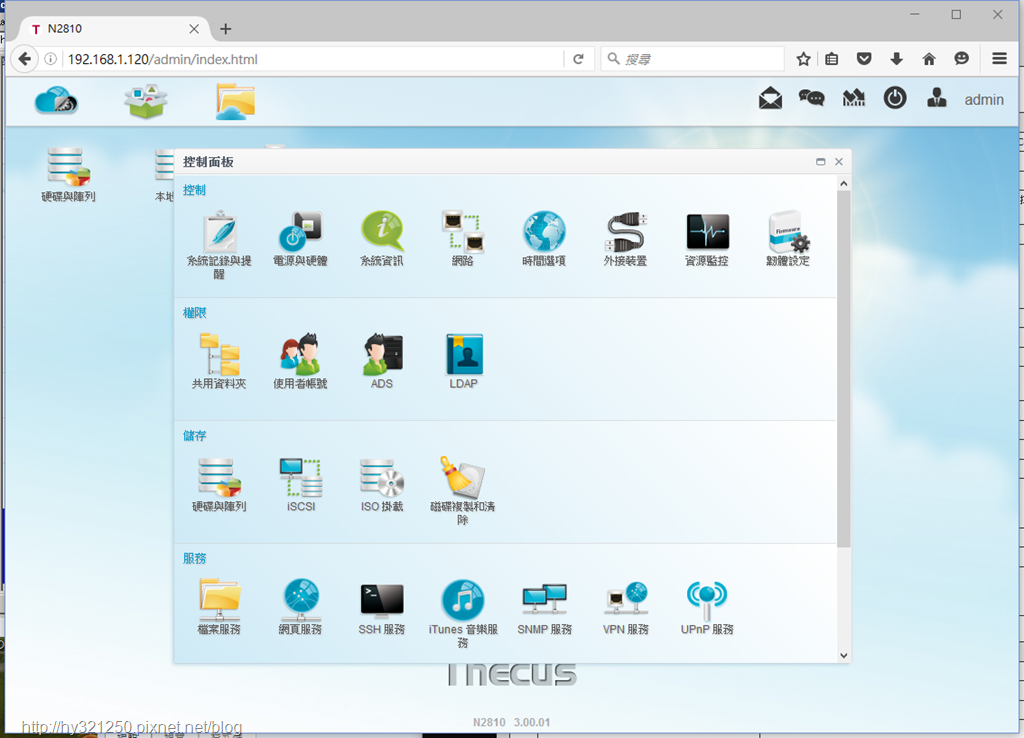
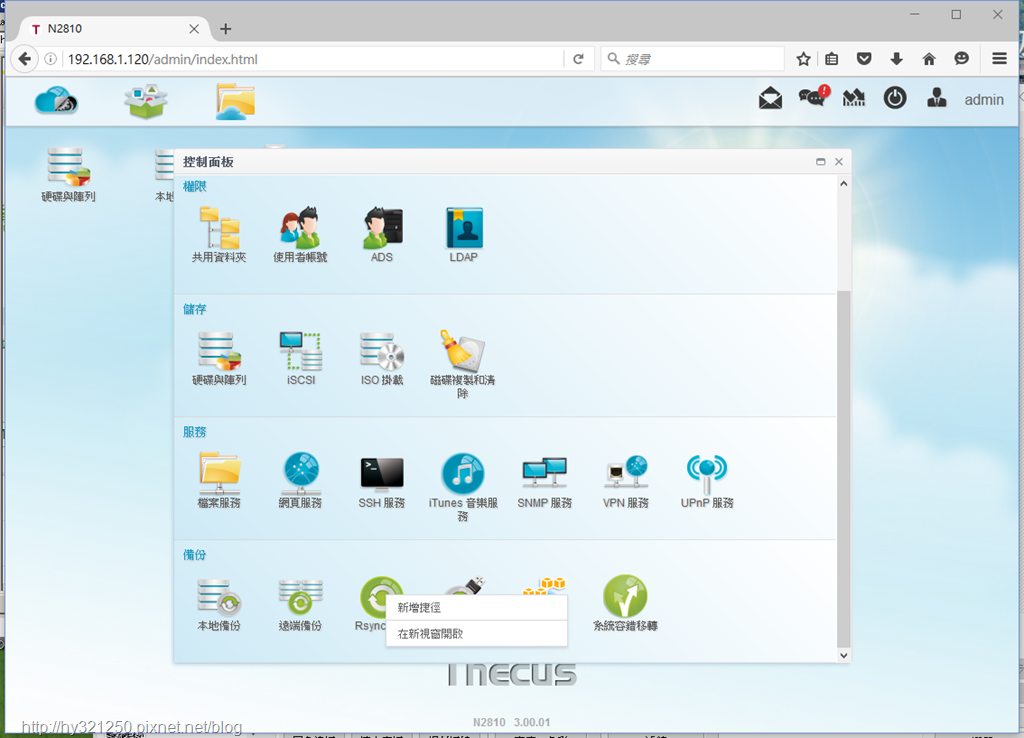
控制面板选单,也改为图形化介面。
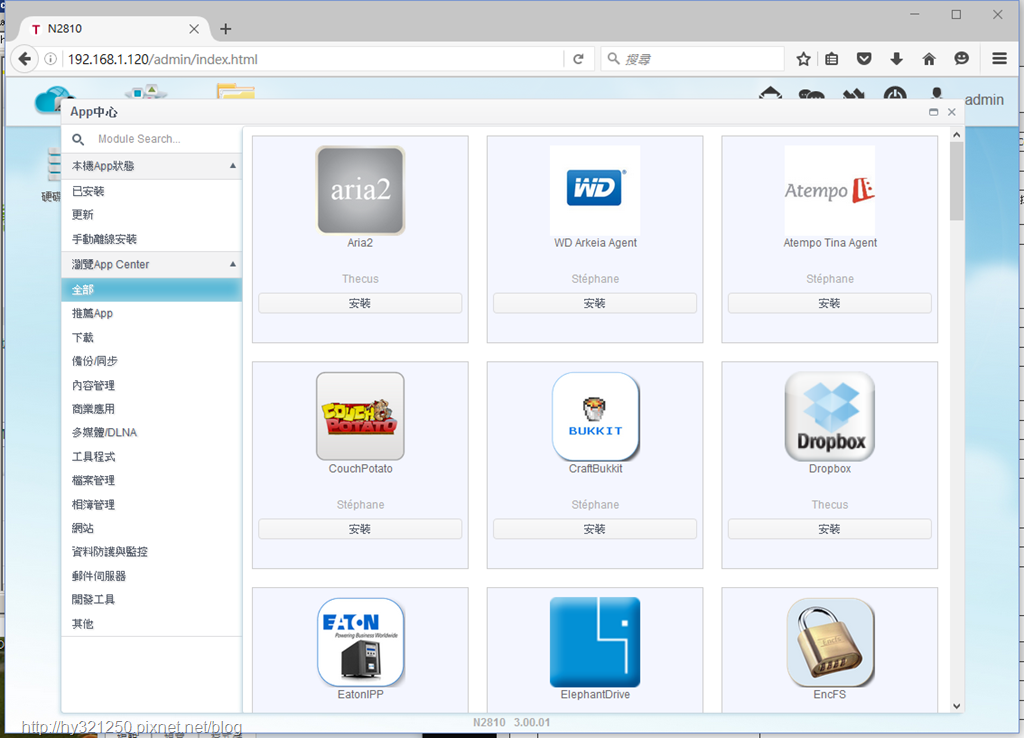
App中心介面也比之前版本所提供的,感觉更方便使用。
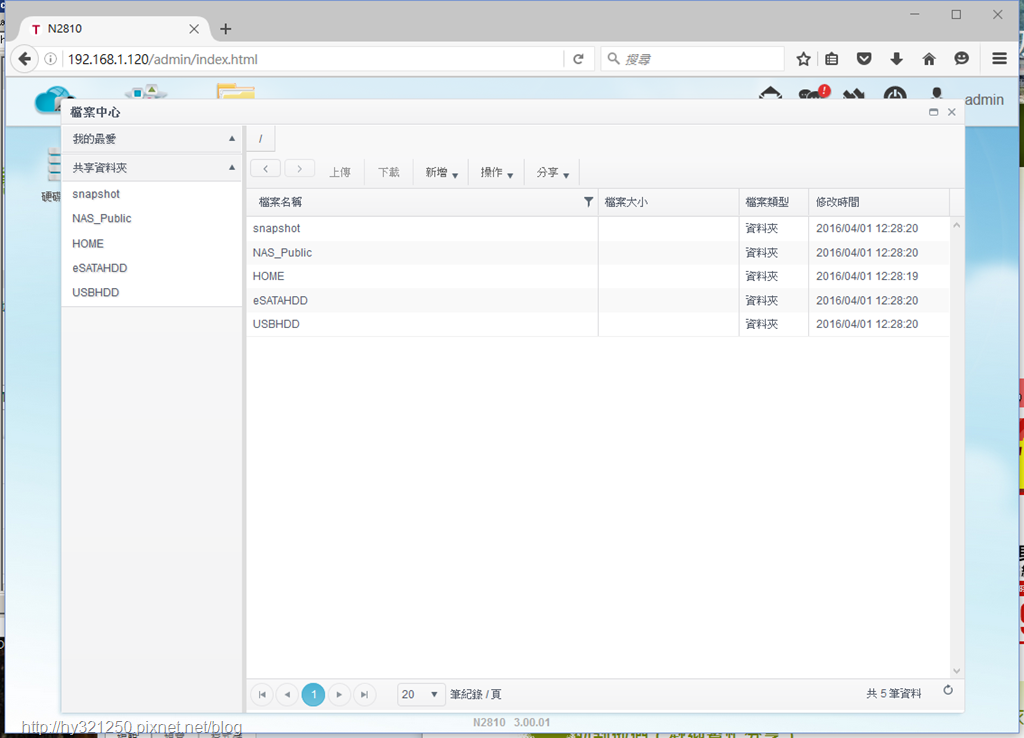
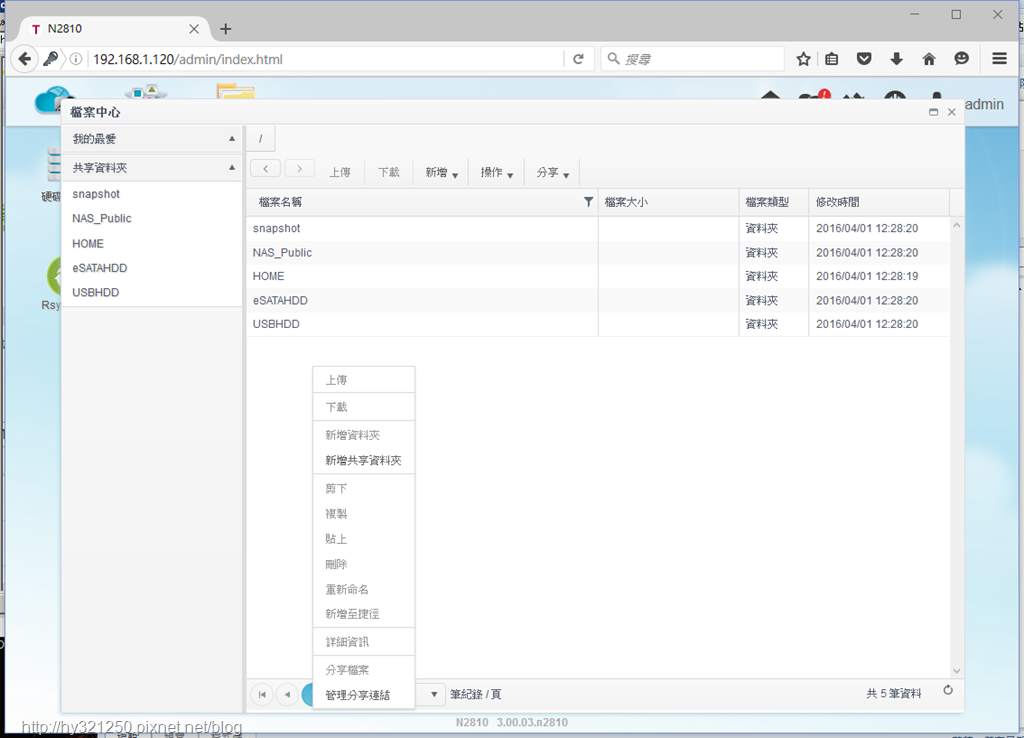
档案中心的操作方式,跟在Windows里使用档案总管类似,按右键有快速选单可以进行选择。
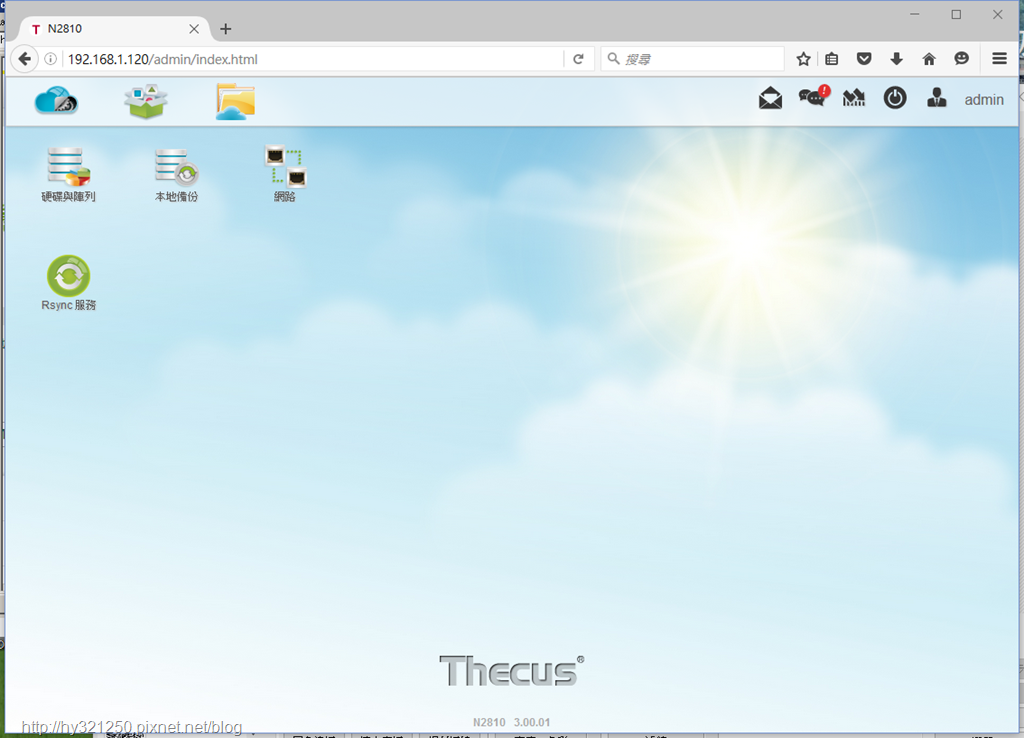
新增捷径到桌面的方式,跟S家与Q家相同。
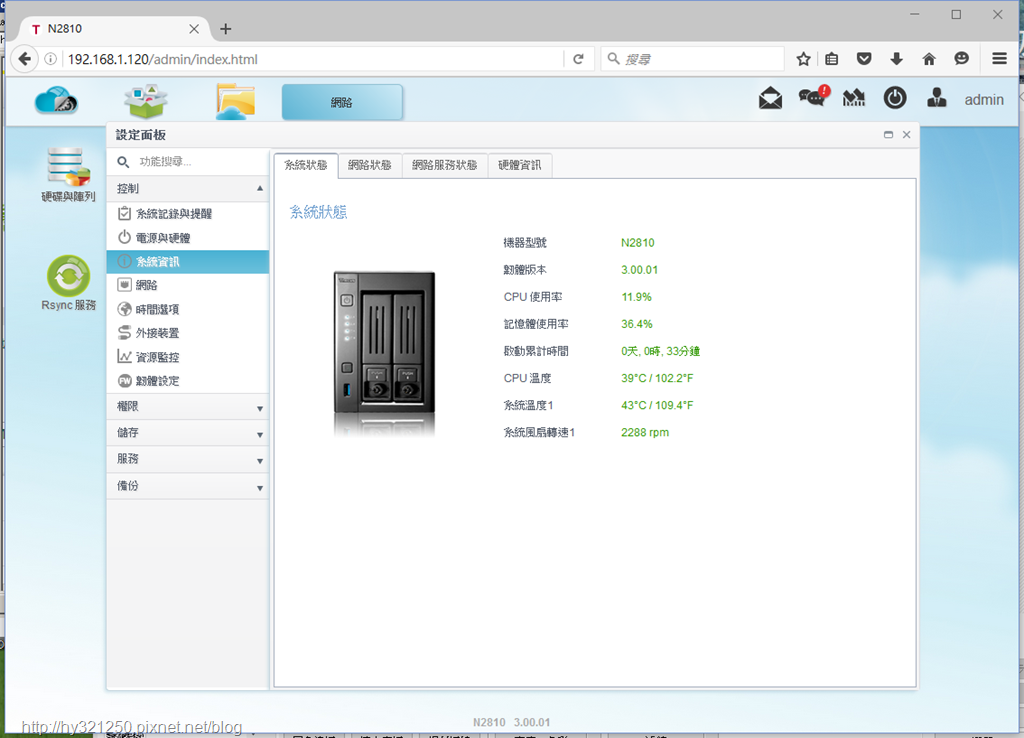
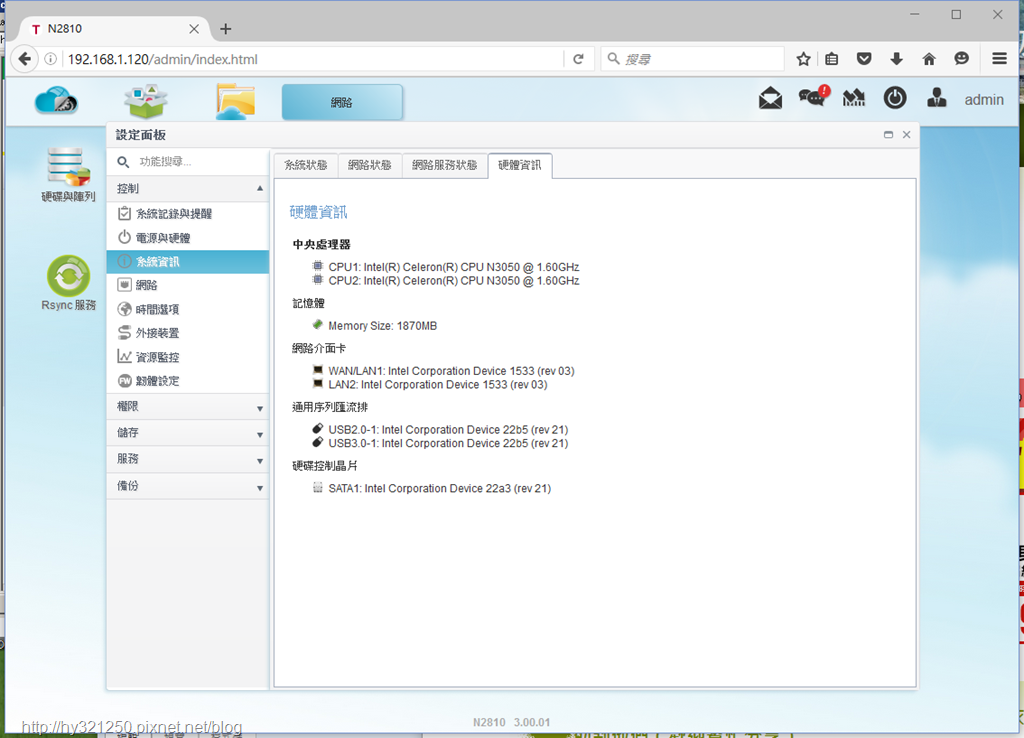
可以看到CPU使用率、CPU温度、系统温度…等资讯的系统状态,在ThecusOS 7中也更直觉了。
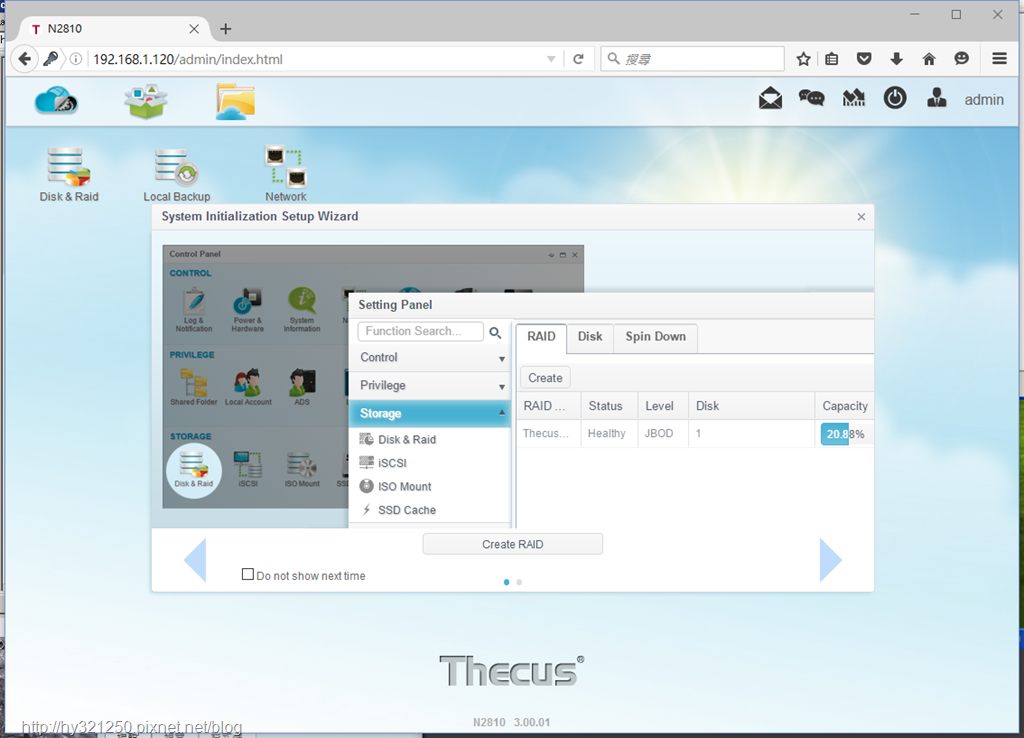
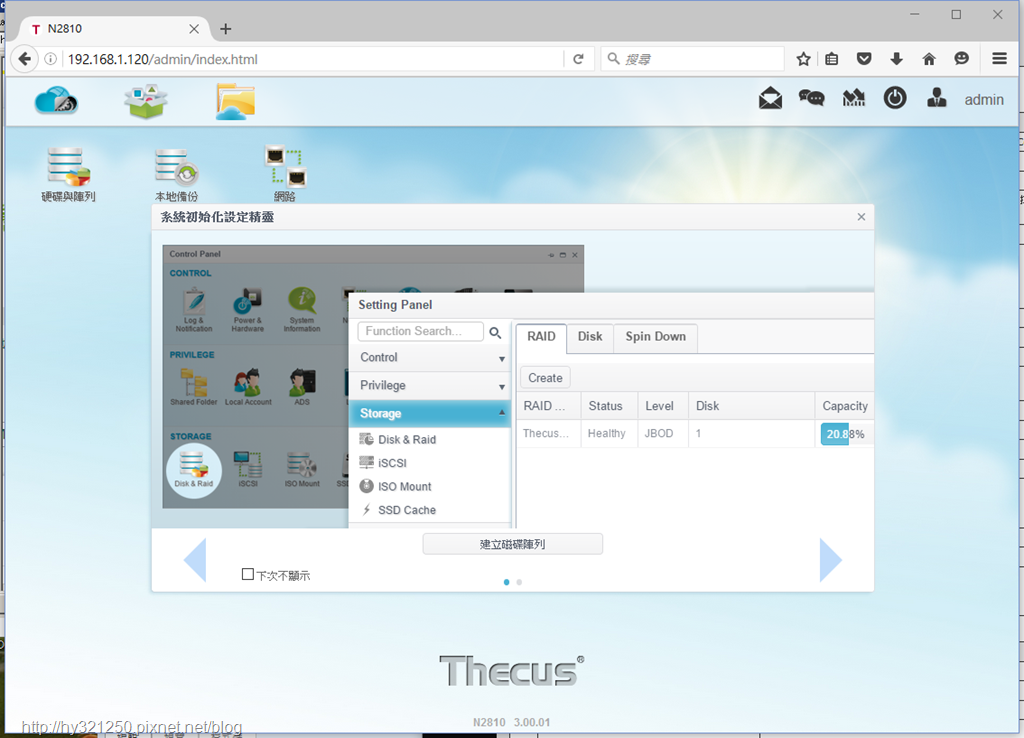
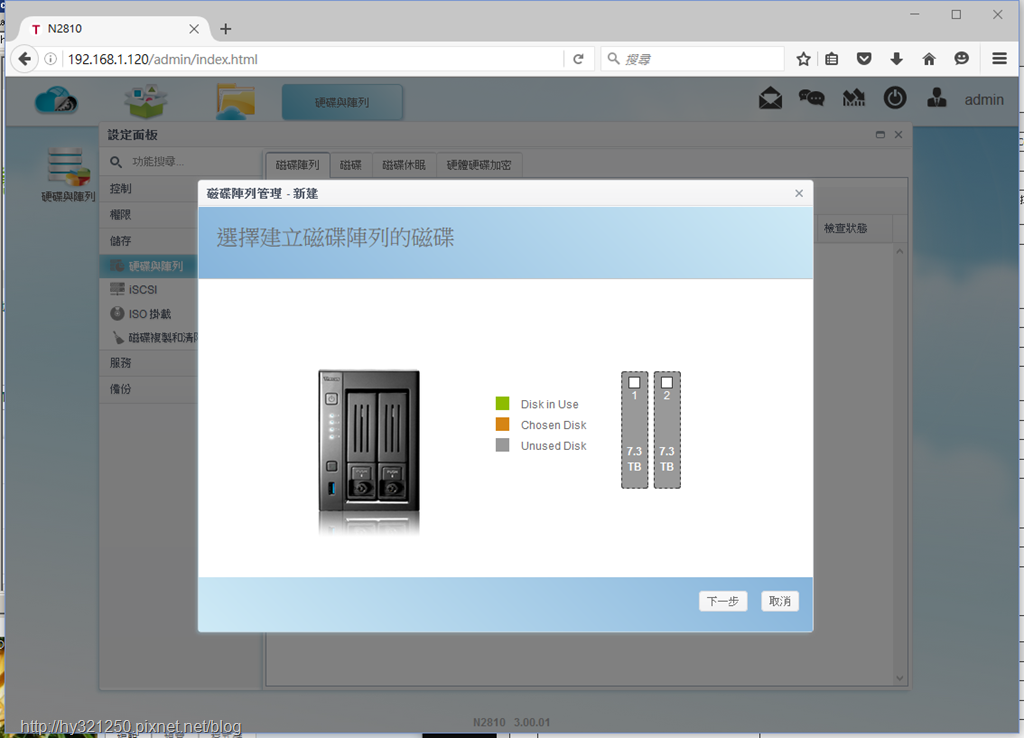
以图形辅助的磁碟阵列建立精灵画面,对于不熟的使用者,只要按照步骤来做,应该都不会有问题才对。
N2810与ThecusOS 7的组合,只要档案系统格式部分选择BTRFS格式,就能享受快照备份的便利性,方便当有需要还原资料时,可以轻松完还原工作。
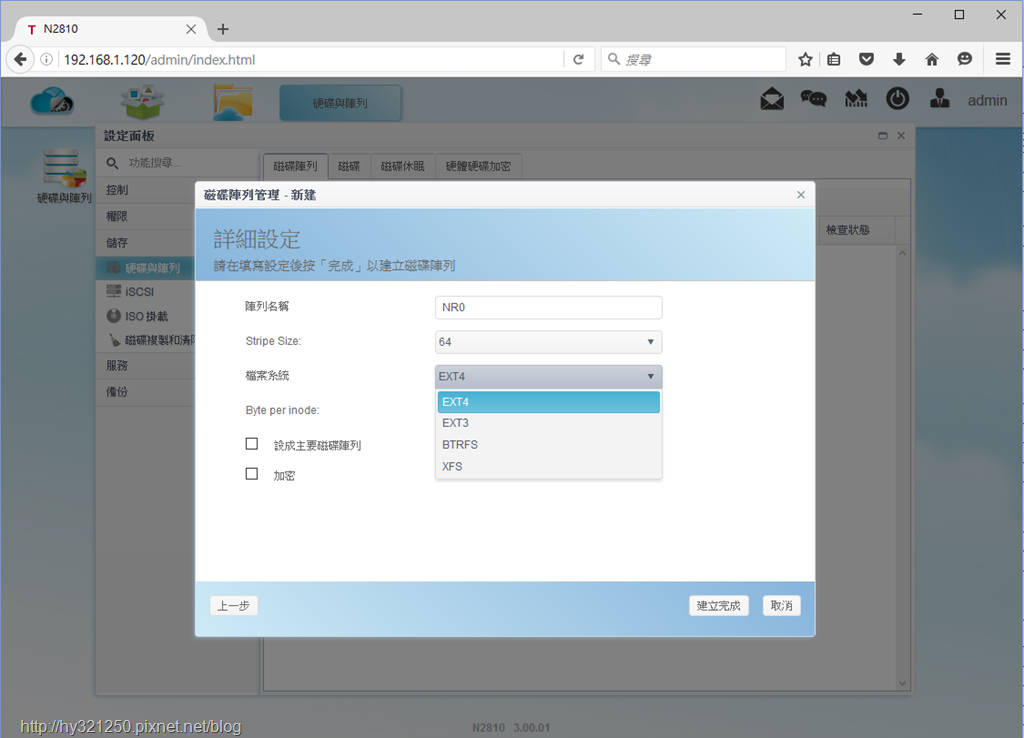
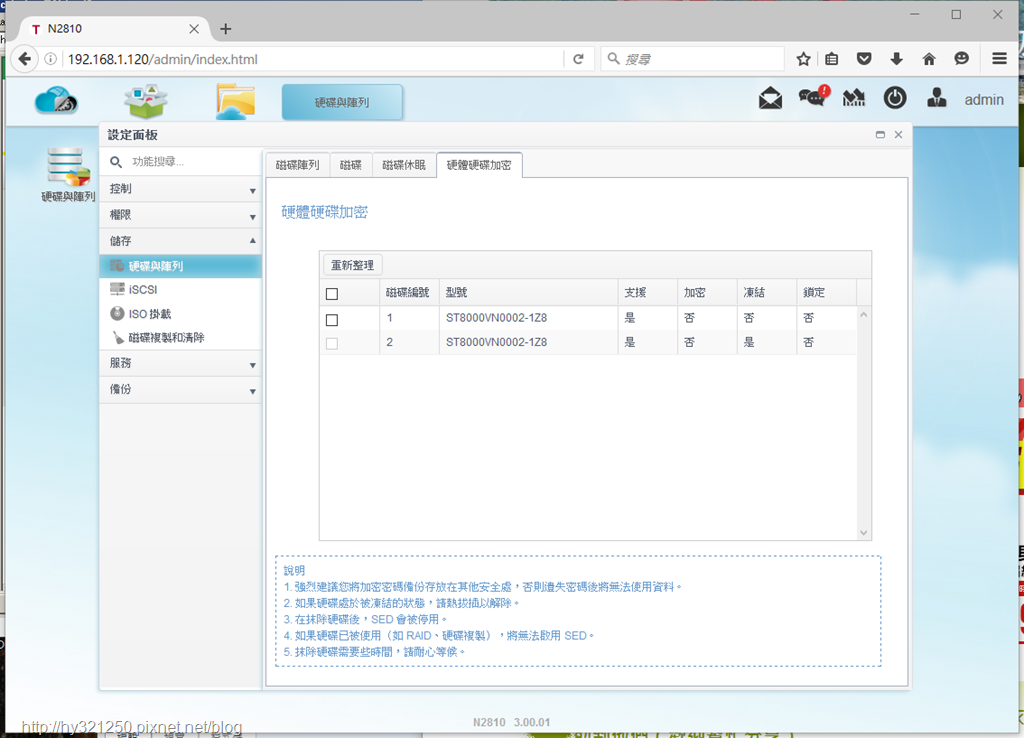
硬碟部分,可以选择是否要做硬体层的加密。

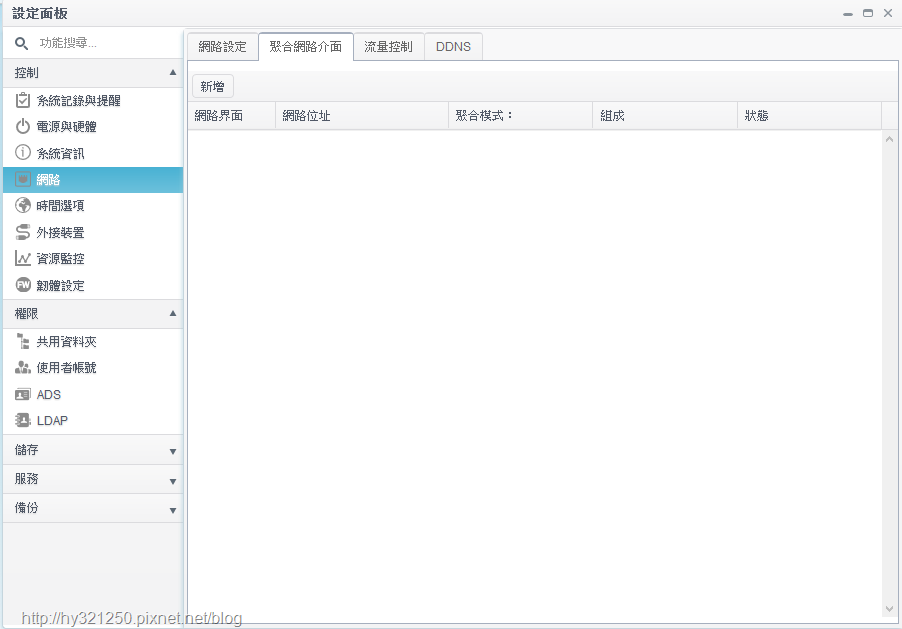
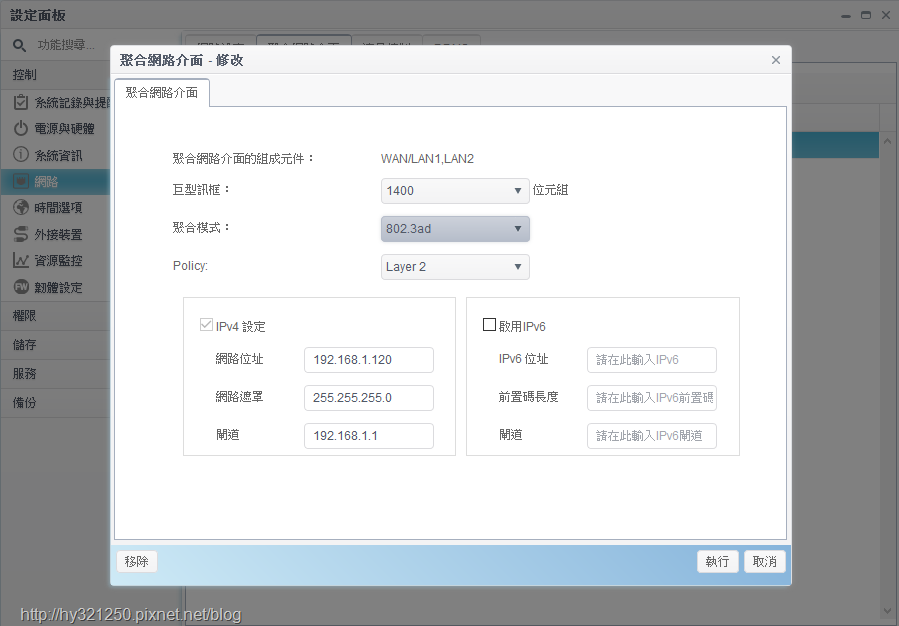
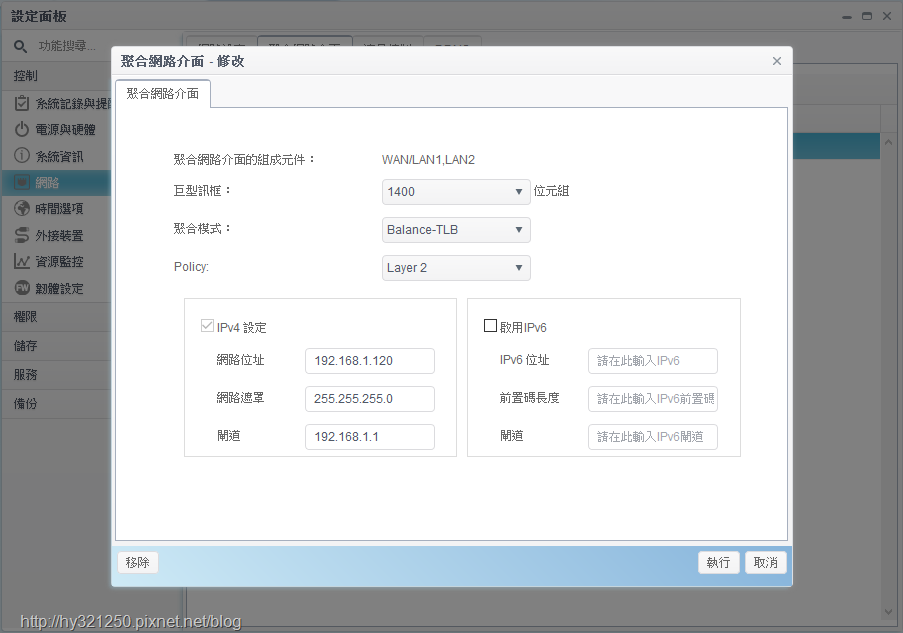
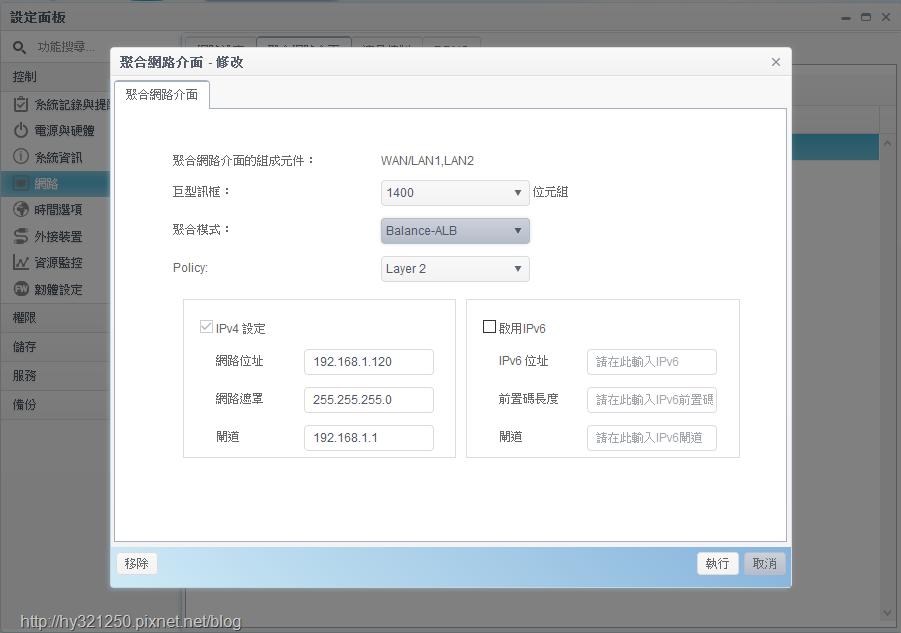
Thecus N2810 NAS提供两个10/100/1000M网路埠,如果设定聚合网路,能避免NAS因单一网路埠有状况,导致NAS无法使用情况发生,也能让网路传输更稳定。因此,可以在"设定面板>控制>网路"的聚合网路页签画面中,按下新增按钮,开始建立聚合网路介面。
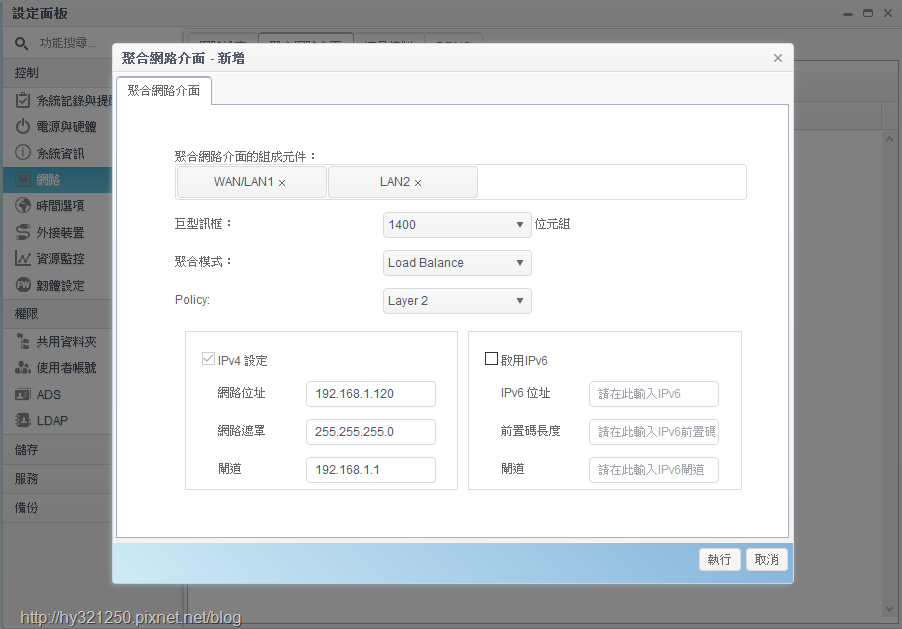
由于自己家里设备有限,所以两个网路埠都是连到同一台无线AP上,而从七种聚合模式中选择一种后,然后按下执行按钮,进行建立动作。
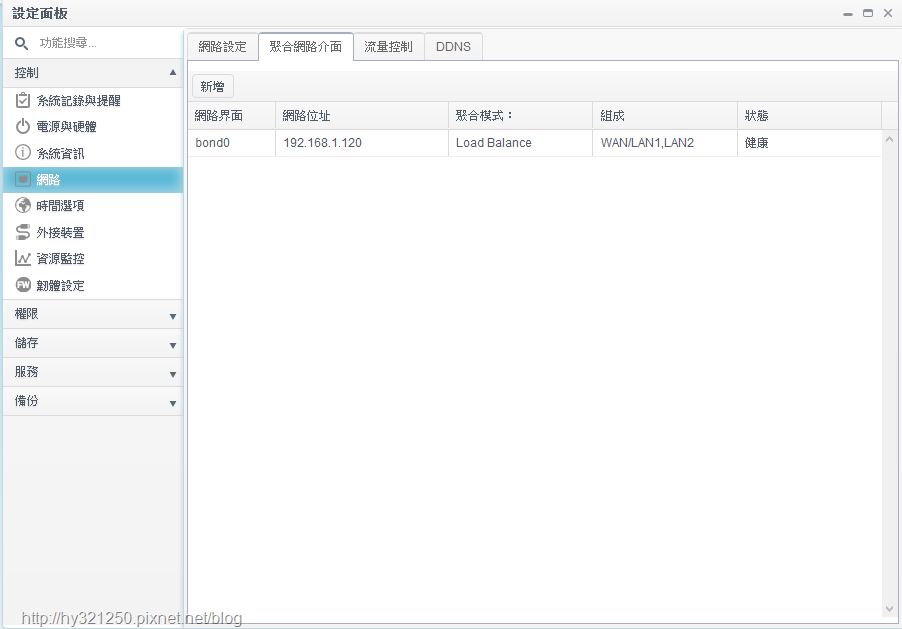
建立完成之后,在"设定面板>控制>网路"的聚合网路页签画面中就能看到新增的聚合网路。以下,是做为对照组的单网路埠,以及每一种聚合网路模式,使用NAS performance tester软体,进行传输速度测试,看看表现如何?
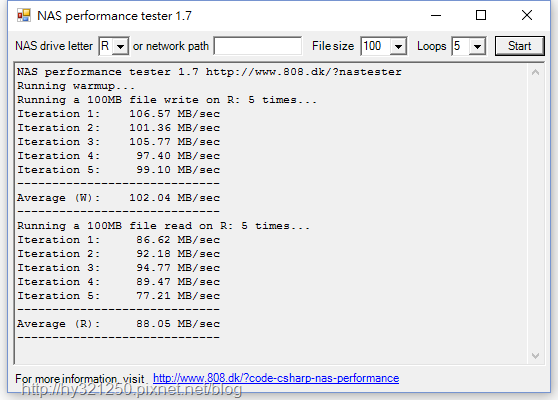
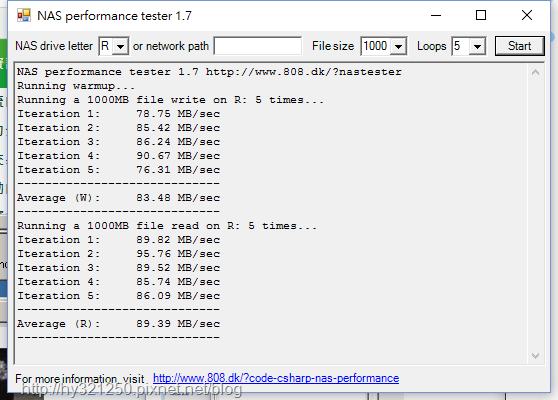
 做为对照组的单网路埠
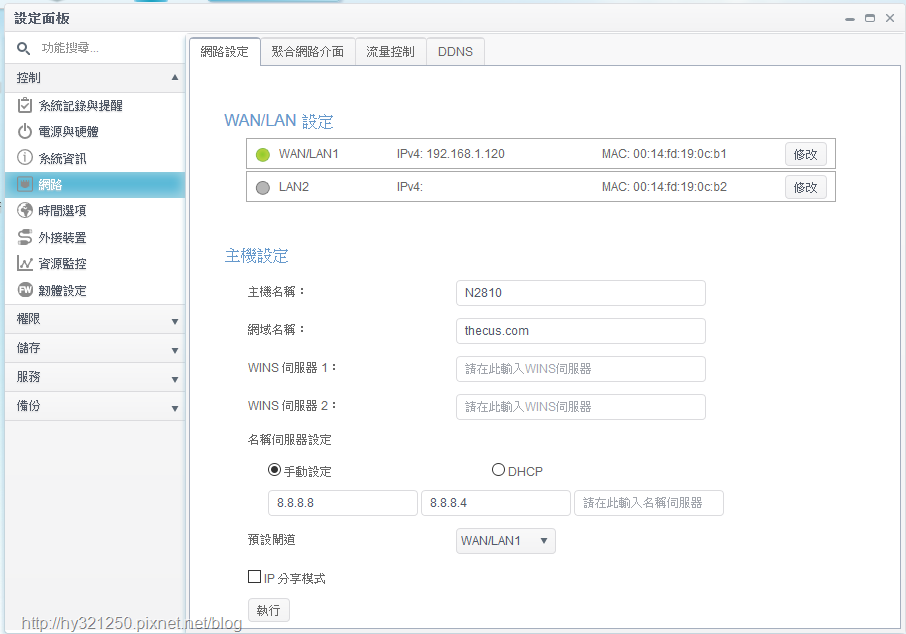
在File size 100,重复测试5次后,得到的平均写入速度为102.04 MB/秒,读取速度为88.05 MB/秒。
在File size 1000,重复测试5次后,得到的平均写入速度为83.48 MB/秒,读取速度为89.39 MB/秒。
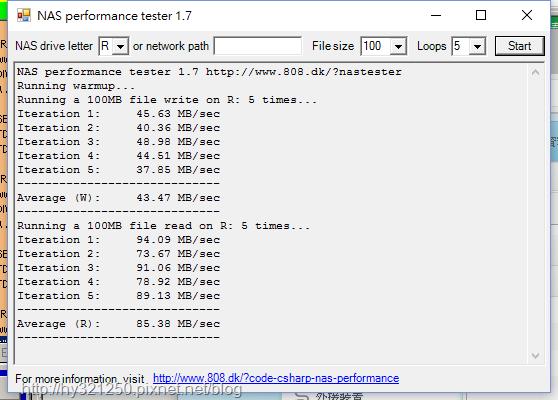
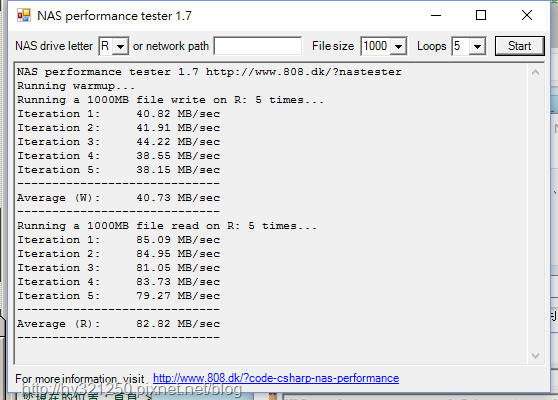
 Load Balance模式
在File size 100,重复测试5次后,得到的平均写入速度为43.47 MB/秒,读取速度为85.38 MB/秒。
在File size 1000,重复测试5次后,得到的平均写入速度为40.73 MB/秒,读取速度为82.82 MB/秒。
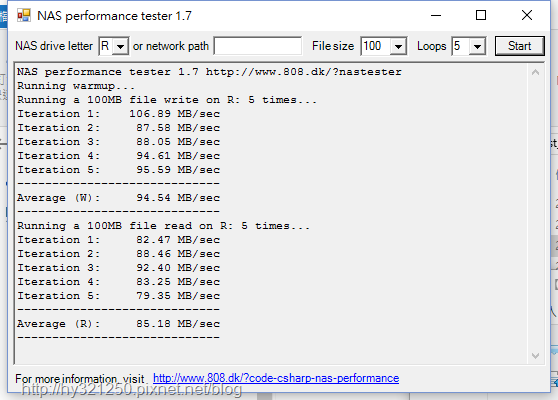
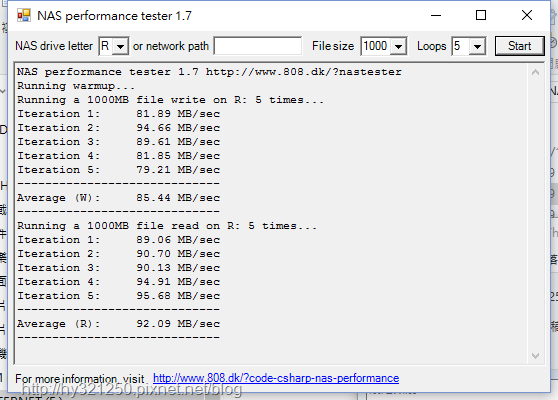
 Failover模式
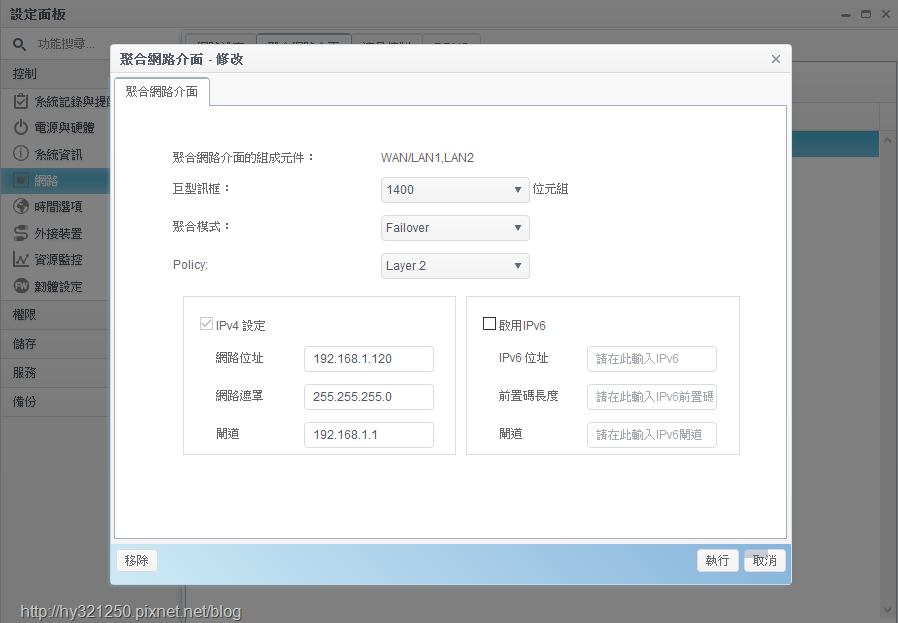
在File size 100,重复测试5次后,得到的平均写入速度为94.54 MB/秒,读取速度为85.18 MB/秒。
在File size 1000,重复测试5次后,得到的平均写入速度为85.44 MB/秒,读取速度为92.09 MB/秒。
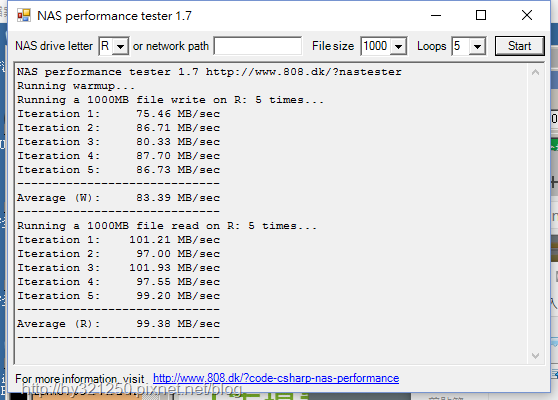
 Balance-XOR模式
会将封包的传输使用"杂凑法"的排程方式,将封包平均分散在可用的网路介面。这种模式可以有效将网路通讯的资料流量分散到所有的网路网路连线上,因而可提升系统的传输效能。

在File size 100,重复测试5次后,得到的平均写入速度为93.01 MB/秒,读取速度为97.16 MB/秒。
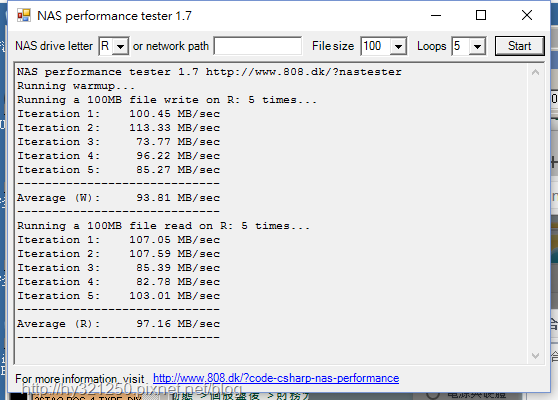
在File size 1000,重复测试5次后,得到的平均写入速度为83.39 MB/秒,读取速度为99.38 MB/秒。
 Broadcast模式
Broadcast提供了一个可靠的网路使用环境, 它会同时将封包传给可用的网路介面。

在File size 100,重复测试5次后,得到的平均写入速度为27.01 MB/秒,读取速度为49.93 MB/秒。
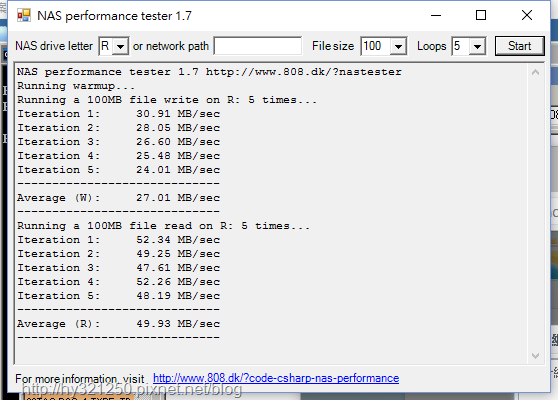
在File size 1000,重复测试5次后,得到的平均写入速度为22.44 MB/秒,读取速度为50.74 MB/秒。
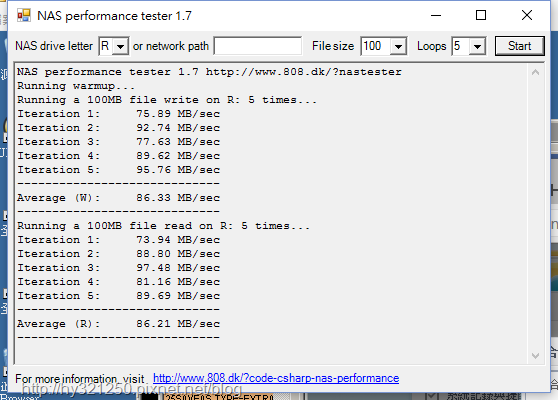
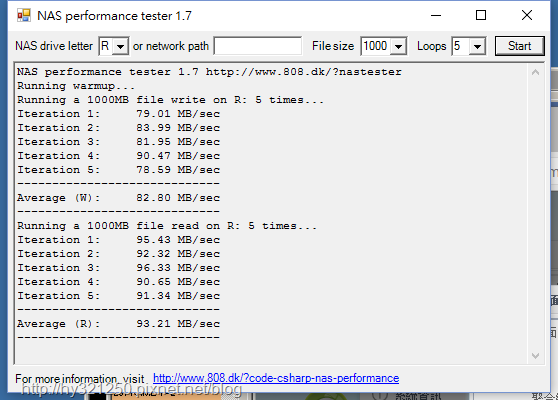
 802.3ad模式
此模式是根据802.3ad规范把所有的网路界面丛集在一起并分享同样的网路速度和双工模式。此模式提供负载平衡和容错功能,但需要一个交换机,支持IEEE802.3ad动态链路聚合LACP模式与正确的配置。
在File size 100,重复测试5次后,得到的平均写入速度为86.33 MB/秒,读取速度为86.21 MB/秒。
在File size 1000,重复测试5次后,得到的平均写入速度为82.8 MB/秒,读取速度为93.21 MB/秒。
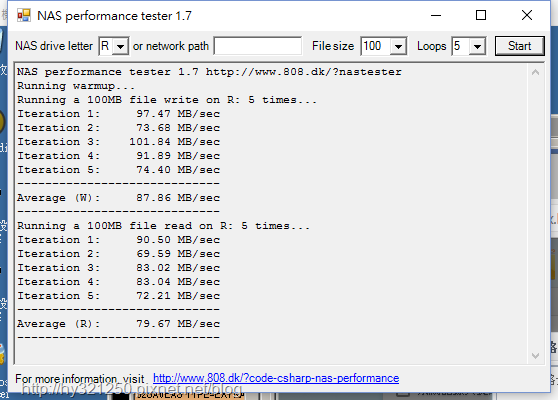
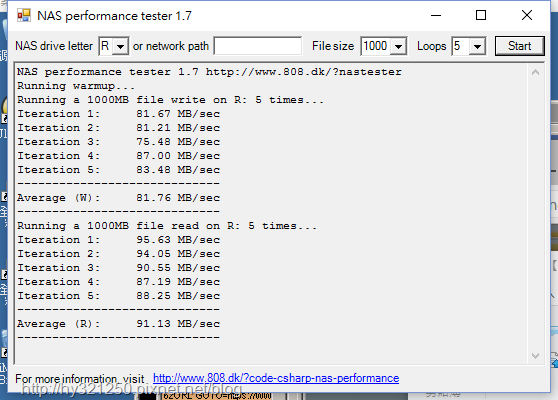
 Balance-TLB模式
对外资料流是根据目前每个网路介面的的负载(计算相对速度)平均的对外送出,而对内传入流量是是以目前正在运作中的介面来接收。如果接收的介面故障时,另一个介面会即时套用其MAC位址并马上接替其工作。此模式同时提供负载平衡和容错功能。
在File size 100,重复测试5次后,得到的平均写入速度为87.86 MB/秒,读取速度为79.67 MB/秒。
在File size 1000,重复测试5次后,得到的平均写入速度为81.76 MB/秒,读取速度为91.13 MB/秒。
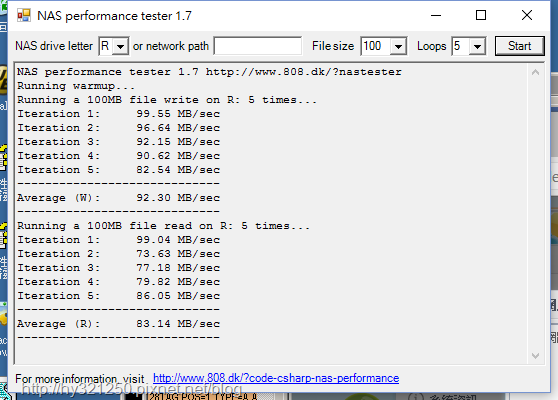
 Balance-ALB模式
此模式有802.3ad模式的所有特性外,并包括IPv4的流量接收负载平衡( rlb ),并且不需要任何特殊的交换机支援。接收负载平衡主要是透过ARP的协议来答覆本机系统的网路资料流。此模式提供负载平衡和容错功能。
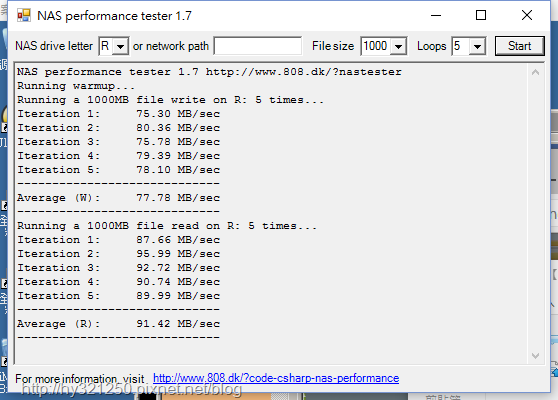
在File size 100,重复测试5次后,得到的平均写入速度为92.3 MB/秒,读取速度为83.14 MB/秒。
在File size 1000,重复测试5次后,得到的平均写入速度为77.78 MB/秒,读取速度为91.42 MB/秒。

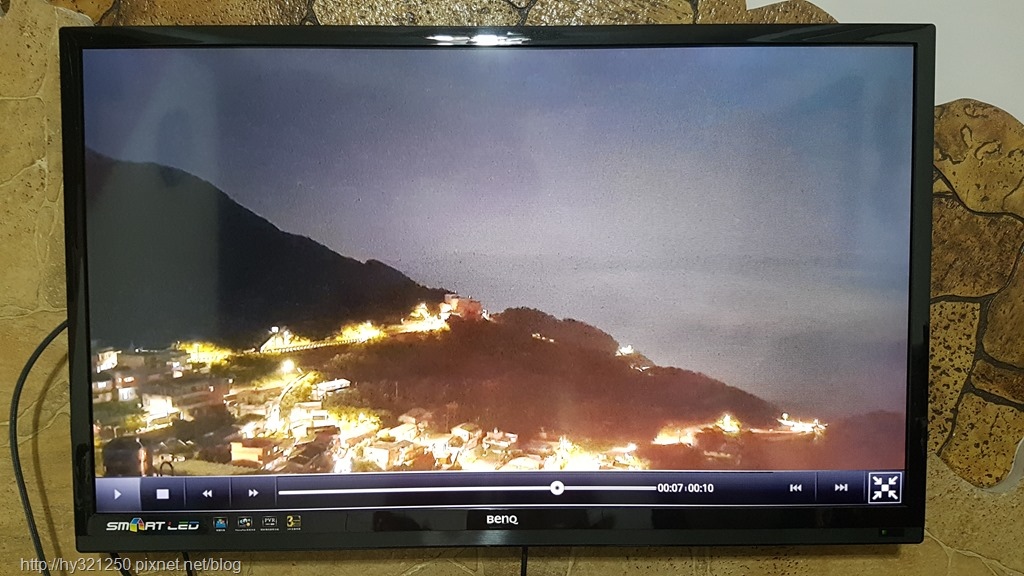
N2810因为使用Intel新一代Braswell N3050 1.6GHz 双核心处理器,因此在多媒体应用效能部分更加提升,可直接播放4K画质影片。因此,透过App中心目前提供的多媒体程式,来试试看直接连接HDMI线到电视,或是透过串流方式播放的实际情况如何?

我这次是把Thecus N2810摆在电视附近,因此使用HDMI线连接N2810与电视,直接观看在N2810里的4K影片,应该是最准确的了。而要使用此方式,就需要安装不少NAS使用者熟悉的XMBC程式。而XMBC程式在安装时,会顺道安装Local Display这个程式,让N2810 HDMI output功能能被启动。
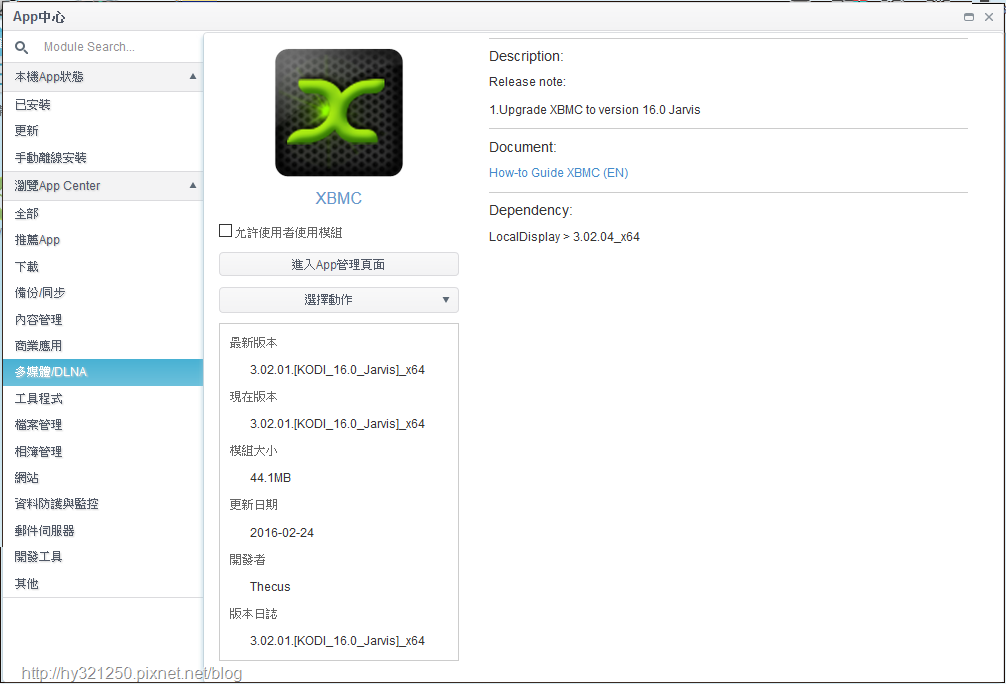
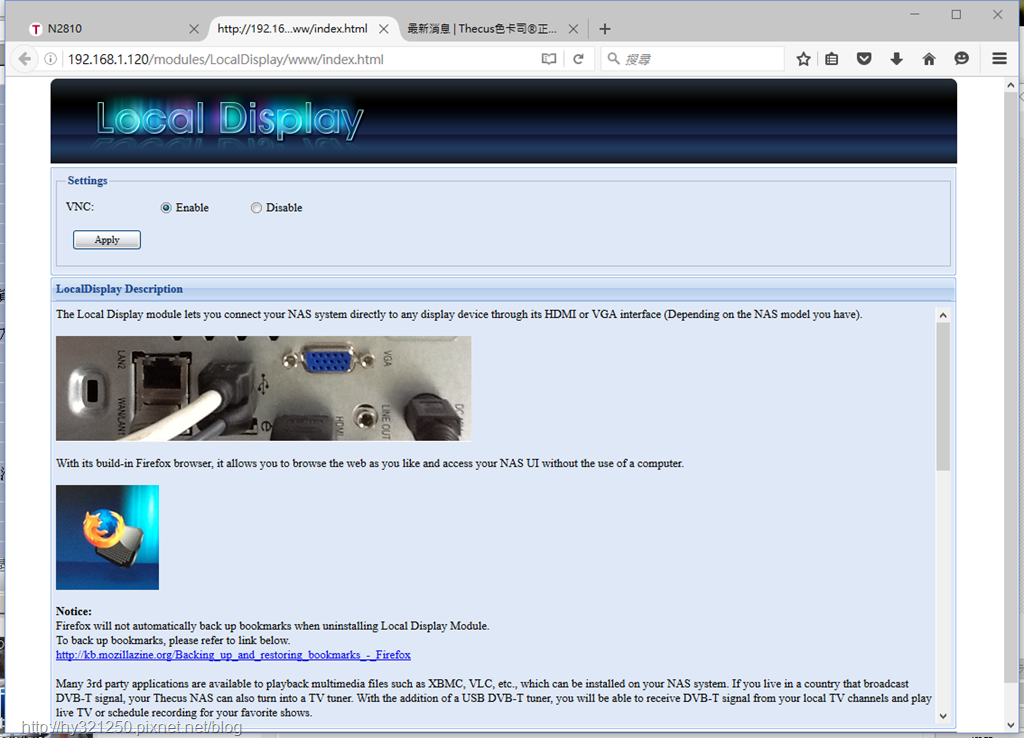
XMBC与Local Display两个程式安装完成后,可以进到Local Display程式设定画面中,将VNC功能启动,而这是个蛮有用的功能哦!
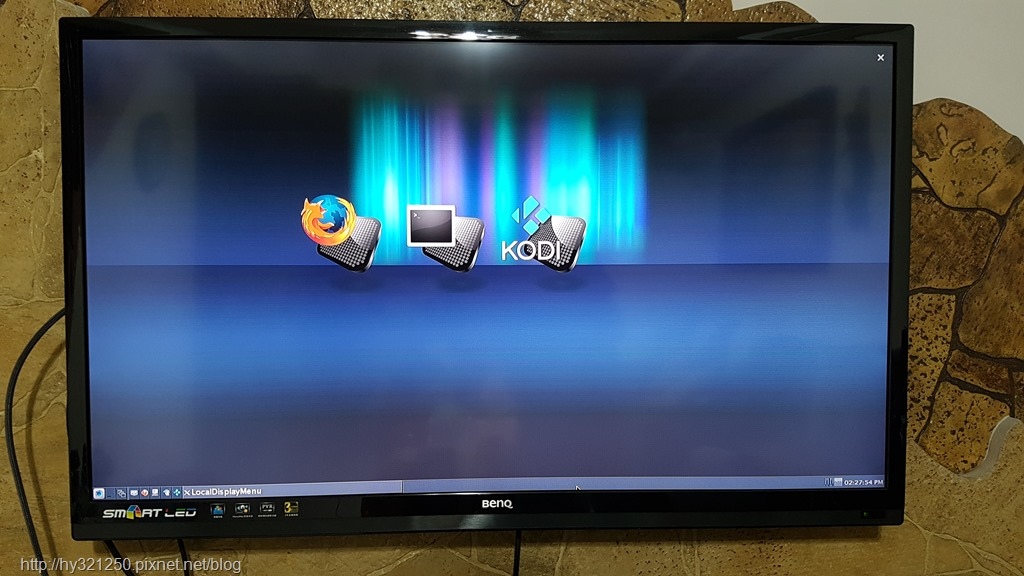
装上USB滑鼠与键盘,并且重新开机,如果没有问题,将电视输入讯号移到连接N2810的HDMI埠之后,就会看到Local Display程式的预设显示画面。
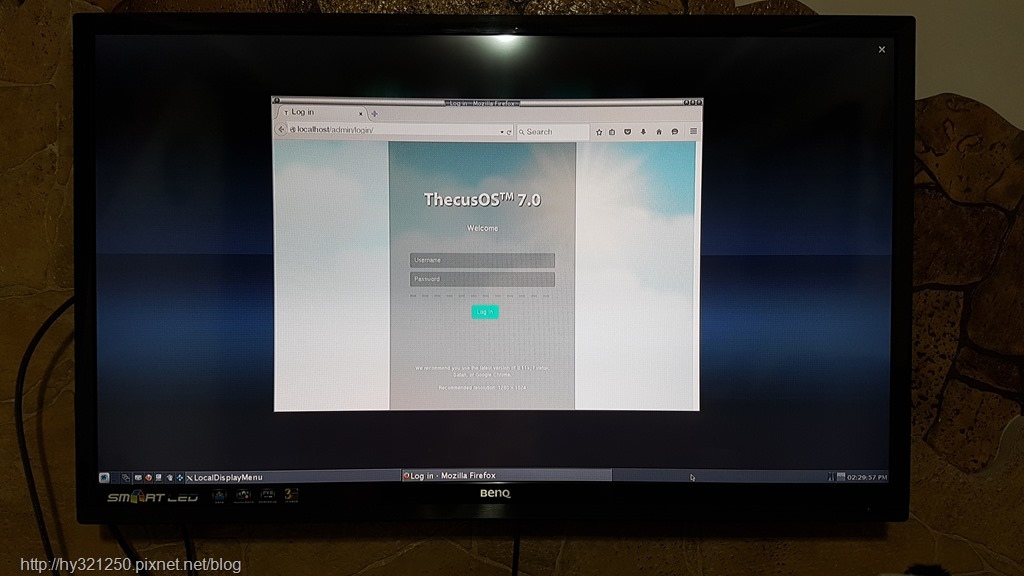
由于前面有将Local Display程式的VNC功能启动,因此开启Firefoc浏览器时,就会预设连回N2810的新版图形化操作系统ThecusOS 7登录画面,这让使用者在自己电脑故障,或是不开电脑时,一样可以对N2810进行相关设定与使用。
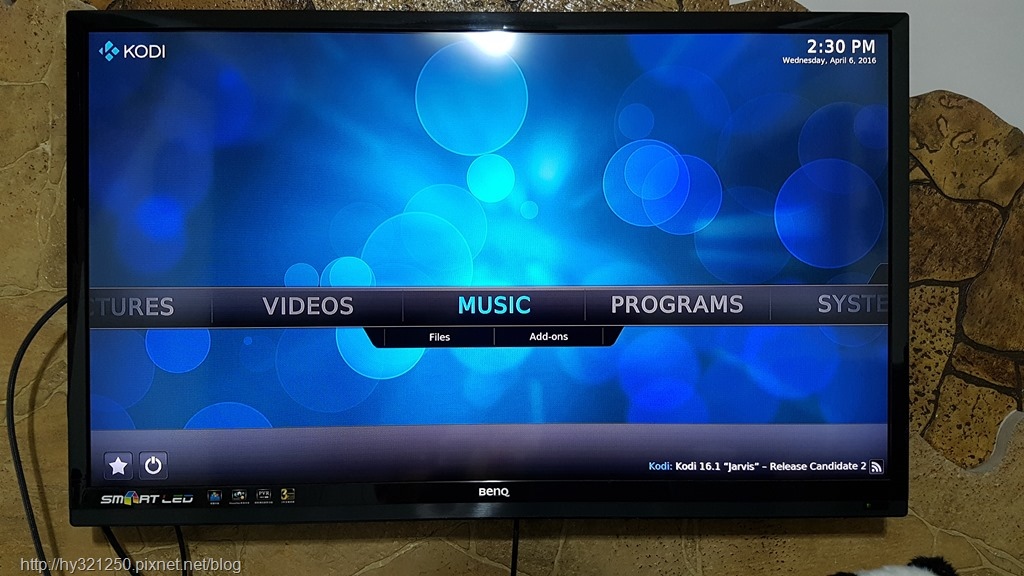
多媒体影音播放部分,还是利用XMBC程式,因此在Local Display程式预设显示画面按下KODI图示后,就会进入XMBC程式主画面。
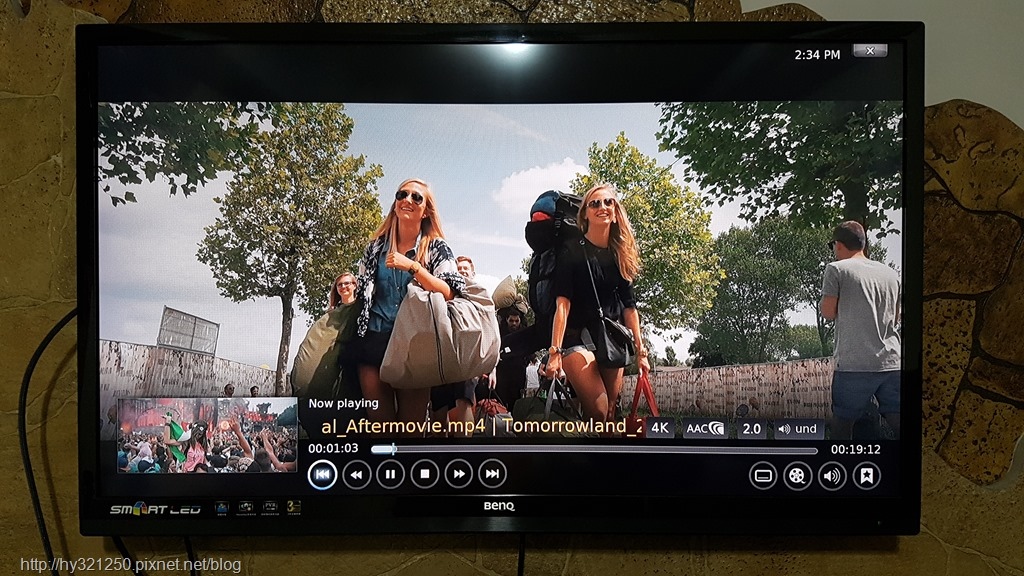
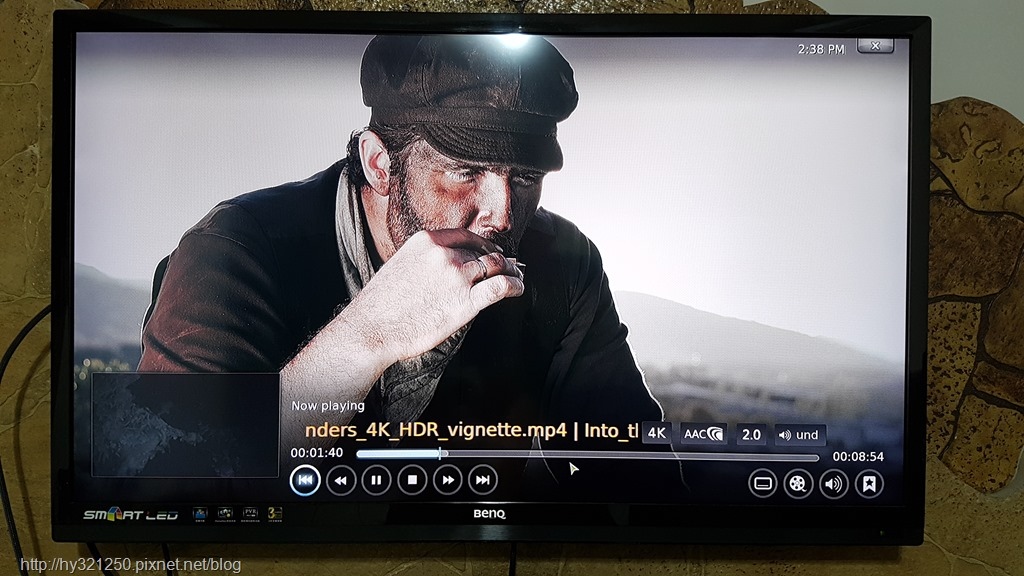
实际播放两段4K画质的影片档,除了前一、两秒会稍稍有点顿之外,接下来播放就很流畅了。
串流部分的播放测试,是安装很多人也会使用的Plex程式。
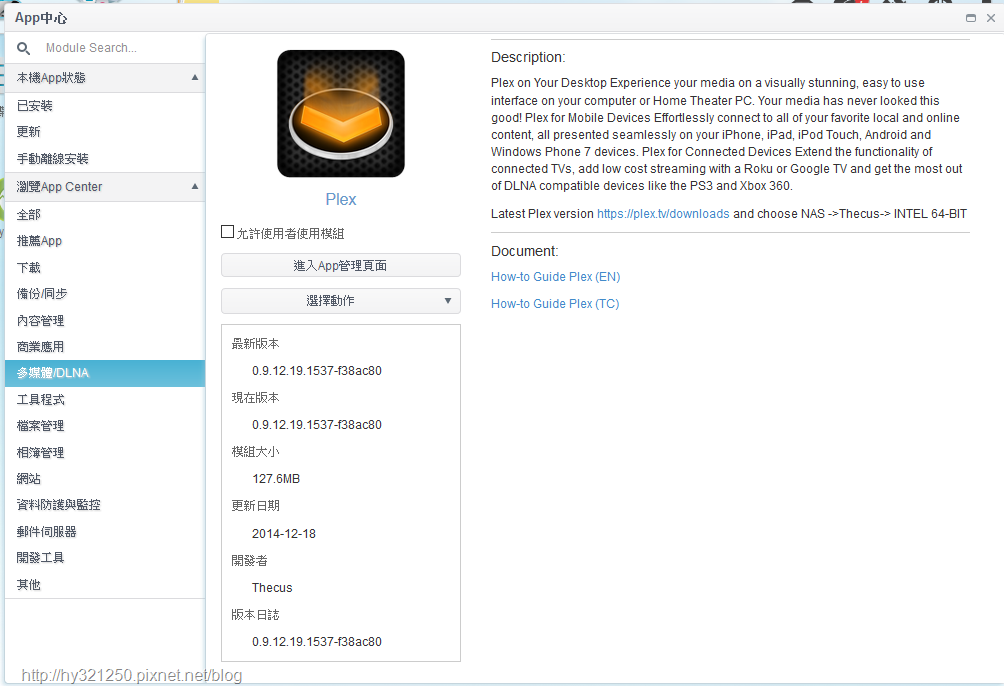
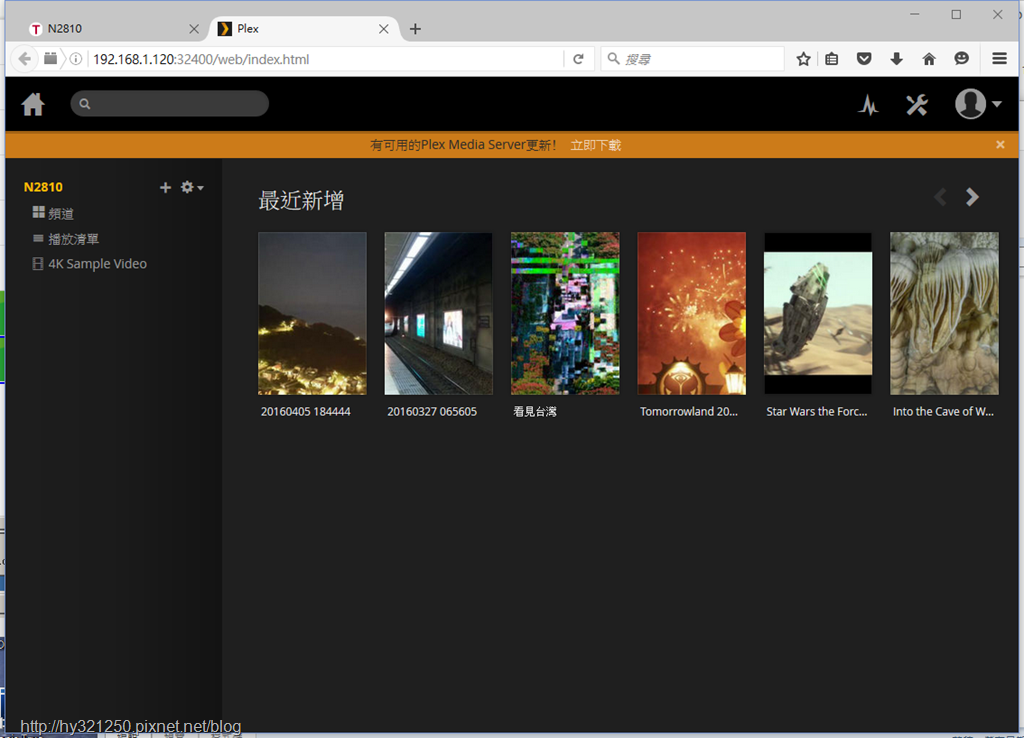
Plex程式安装完成后,家里这台电视是Smart TV,所以很顺利地找到在N2810上的Plex Server。

实际透过这台Smart TV或电脑播放这些影片时,则是发现4K影片无法串流播放,应该是Plex的解码器指令集问题,因此导致无法硬解。
后来,改试另一个大家也常用的Twonky程式,Smart TV仍然无法播放4K影片,但透过电脑播放时则完全没问题,所以如果要直接硬解观看N2810上的4K影片,目前使用Twonky会是比较好的选择。


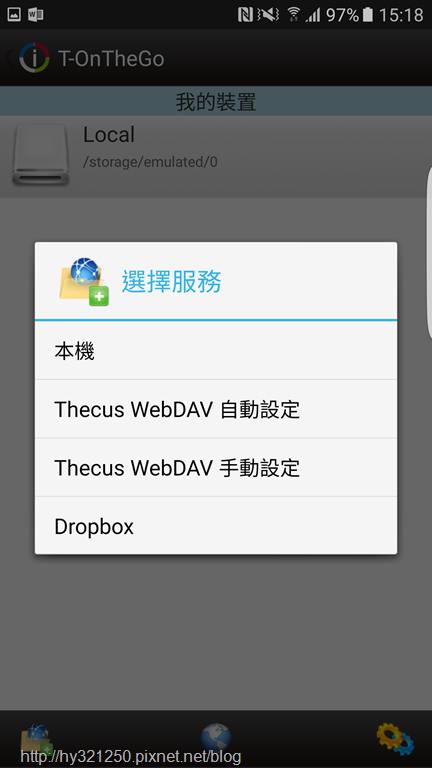
另外一个比较奇怪的地方,就是下载行动装置使用的T-OnTheGo App播放在N2810内的影片会有状况。
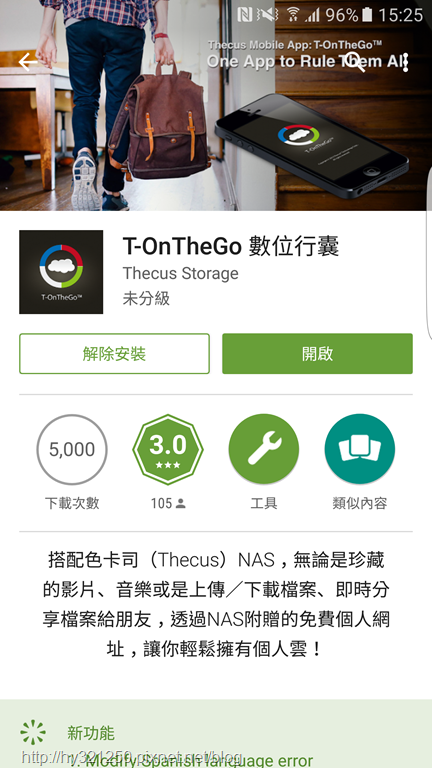
自己用的手机在连接到N2810之后,点选任何一段影片播放,都会遇到软体有问题需关闭的状况。本来以为是自己这支手机问题,但拿家人的手机安奘T-OnTheGo App后,情况还是一样,而其它App可以使用的功能则无问题,这部分Thecus的工程师可能需要查一下App本身程式码跟N2810有何冲突之处,才会导致这样的情况产生。

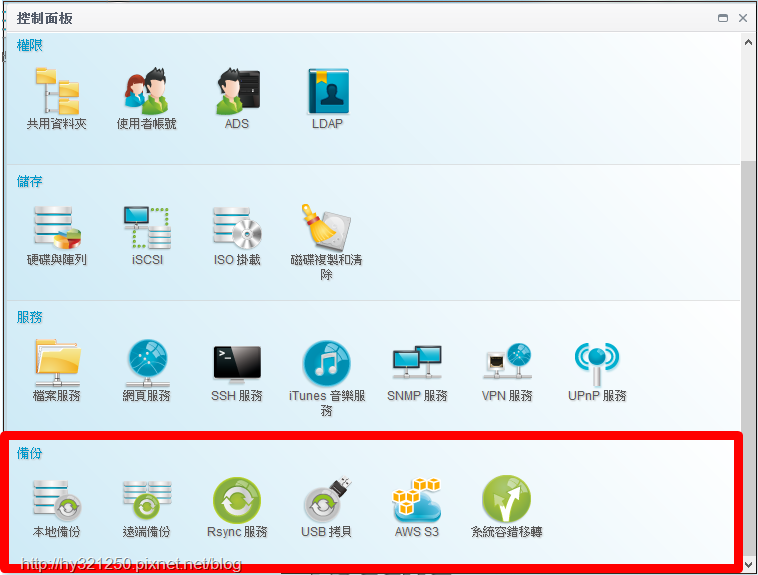
NAS现在提供的功能越来越多!但别忘了NAS本来设计的初衷,是为了进行备份,加上Thecu N2810操作部分以改成图形化操作系统ThecusOS 7,所以备份这部分也一定要看一下有没有什么改变?而在ThecusOS 7中,就把原来的备份功能分拆成5个独立的功能,再加上可以进行容错转移(HA)功能。
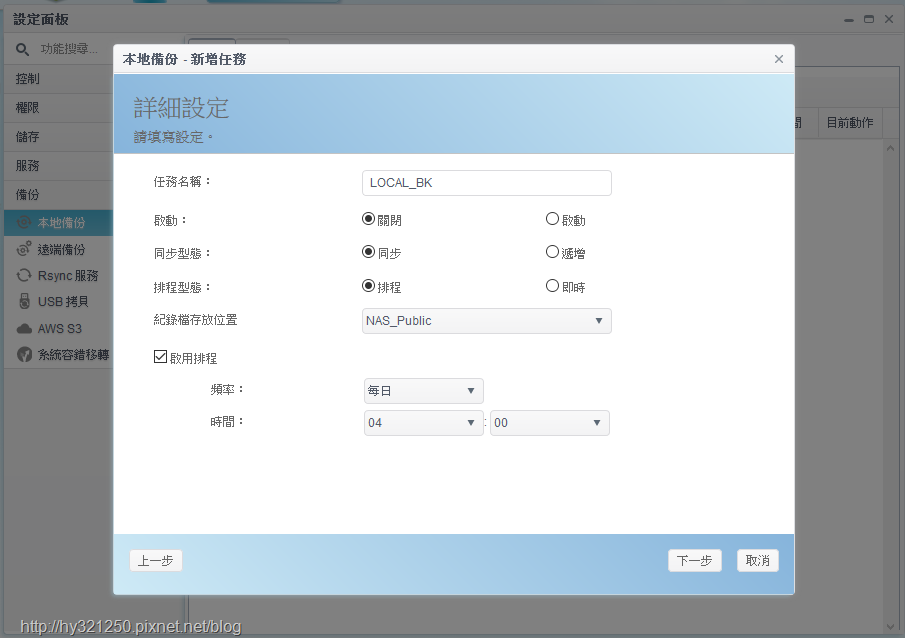
本地备份功能,在新增本地备份任务部分,介面比起非图形化版本,能让不熟悉操作的使用者能更容易地进行设定。


新增本地备份任务,能一次完成同步型态、排程型态与排程设定,我觉得这样蛮方便的。
一些细项设定,同样在一个页面中可以完成,让新增本地备份任务设定变得相对简单!
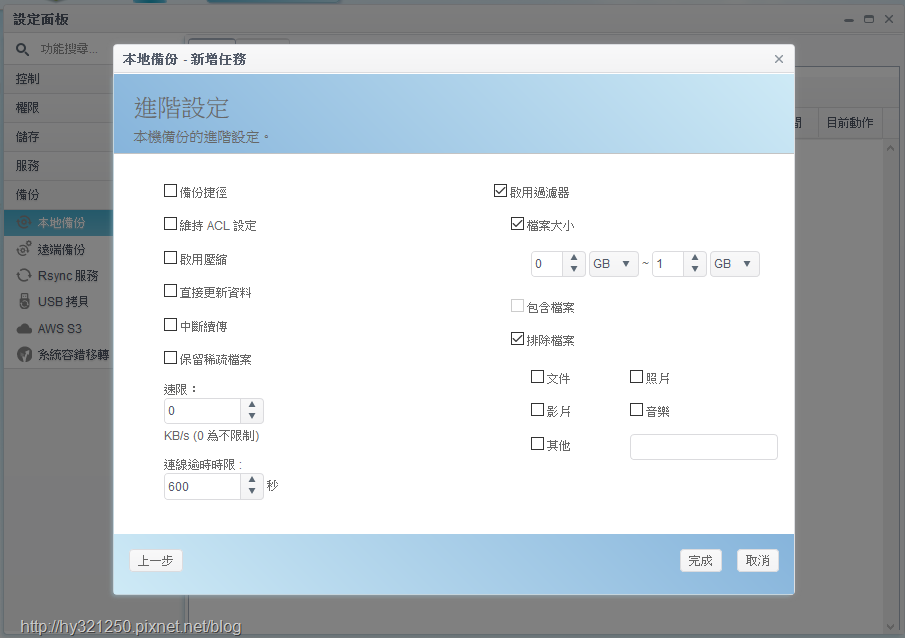
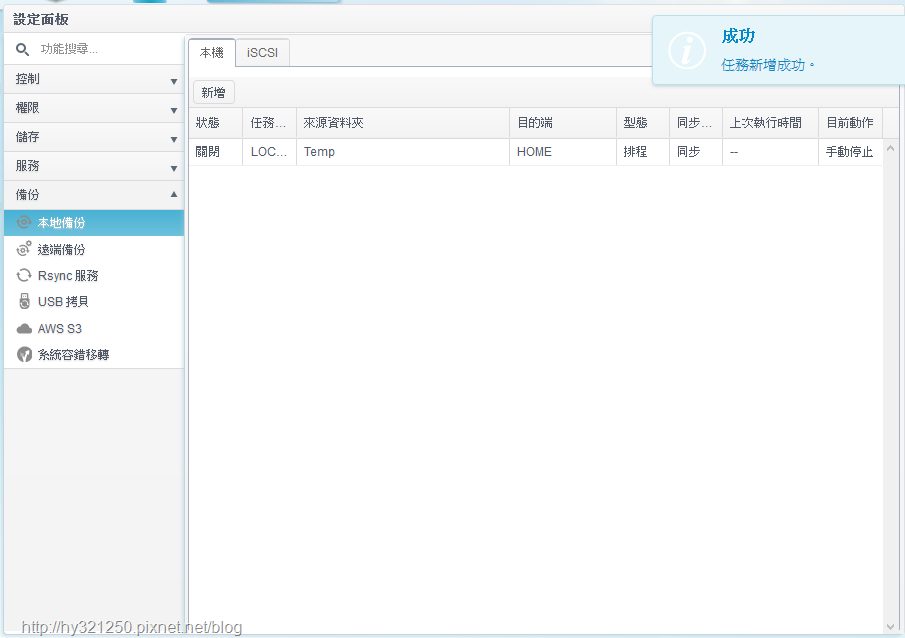
很快就新增完成一个本地备份任务。
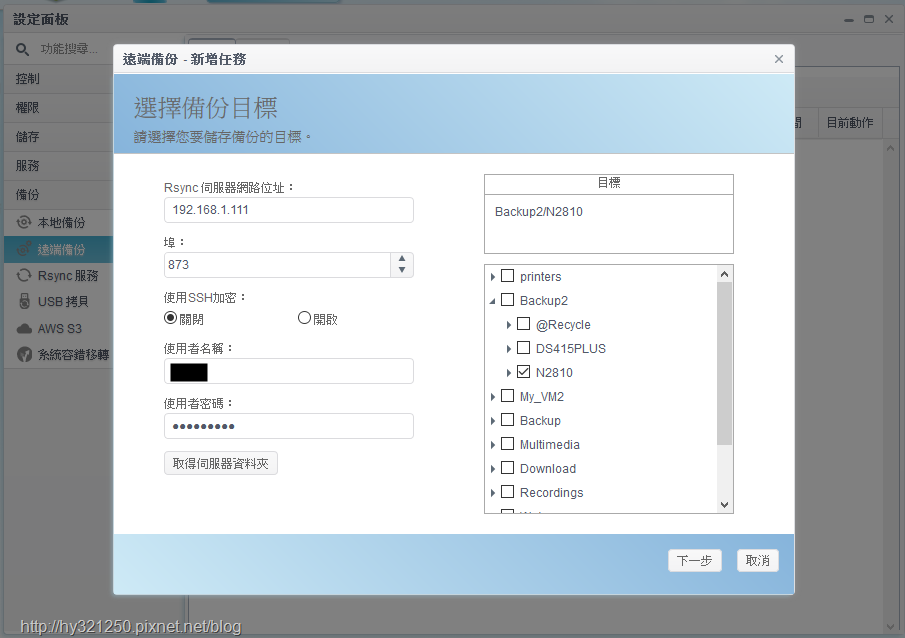
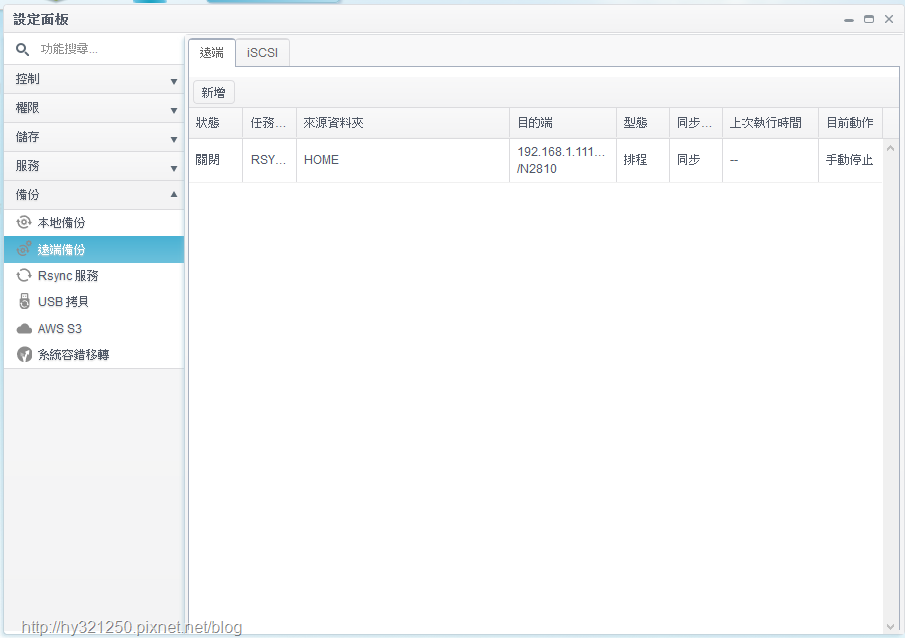
新增远端备份任务时,一开始输入远端开启Rsync伺服器功能伺服器IP、帐号与密码无误后,就能在同一个页面下选择远端目的备份目录。而接下来剩余的设定部分,就跟新增本地备份任务相同,所以只要开始连接远端Rsync伺服器部分没问题,后续设定就不会有问题。
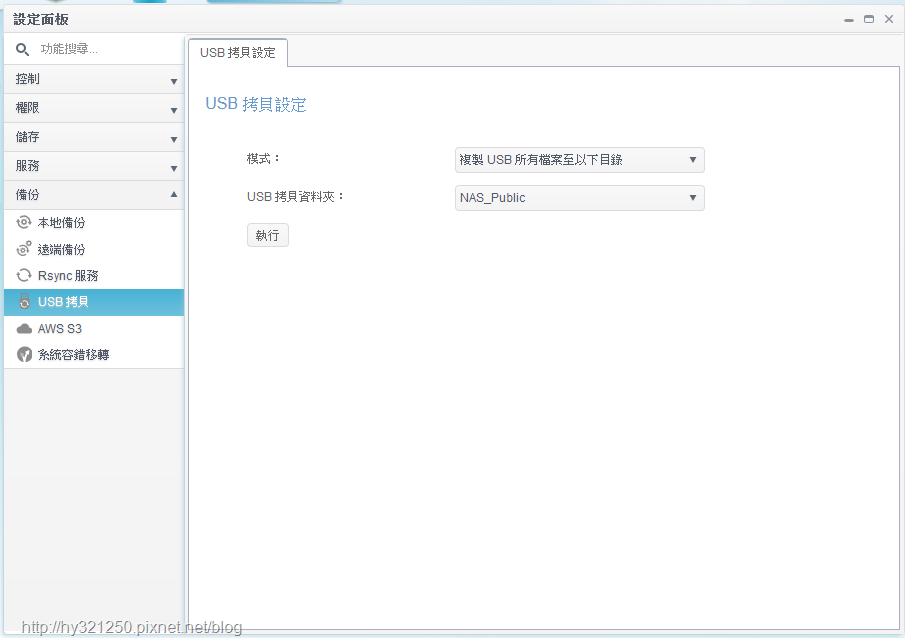
USB随身碟或随身硬碟备份至N2810里,除了可以利用机身上的USB快速复制按钮进行备份外,也能在ThecusOS 7中的USB拷贝设定功能进行备份,并能选择备份的目的目录。
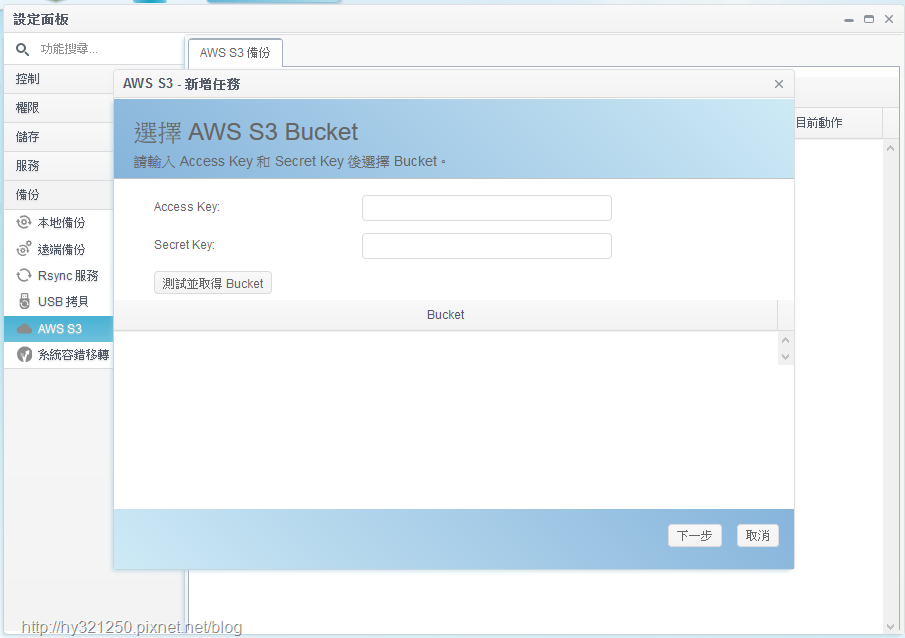
直接备份到Amazon S3云端部分,也同样有提供。
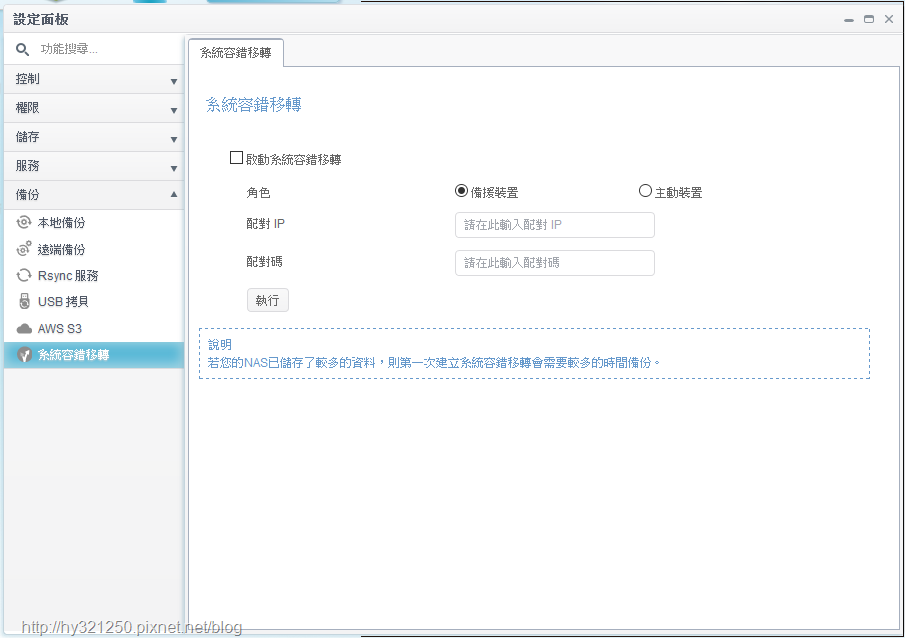
N2810在Thecus的产品定位,是归类在中小企业使用,因此有提供系统容错转移机制,只要有另一台支援系统容错转移机制的Thecus NAS,当系统容错转移设定完成,如果这台NAS发生状况,就能由备援的NAS接手服务,让使用者可以继续使用。而以我搜寻到N2810目前一万上下的售价,中小企业使用者可以不用花太多钱,就能确保NAS上的服务能不间断地提供服务,其实还颇划算的。

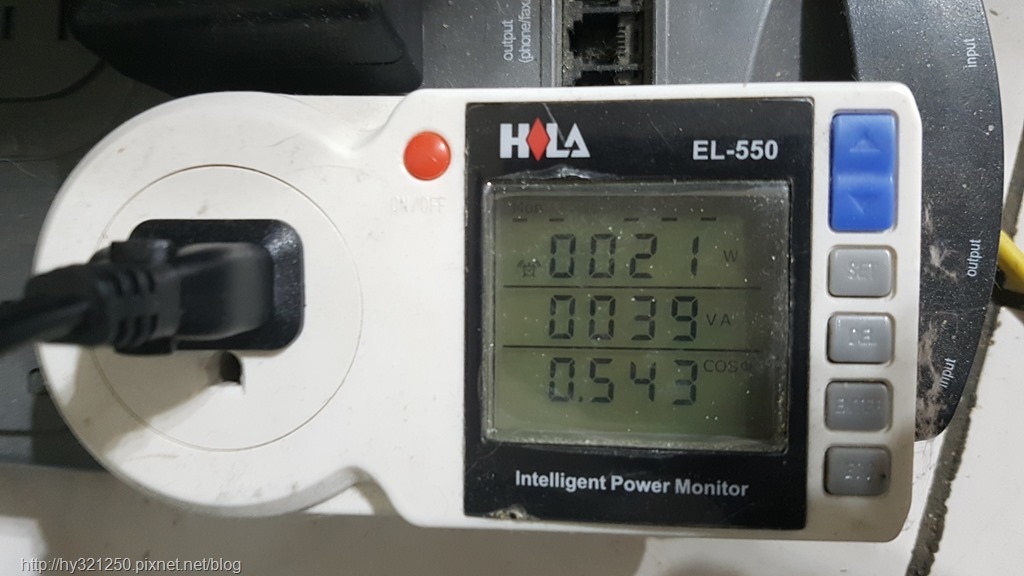
这次Thecus N2810 2Bay NAS与2颗Seagate 8TB NAS HDD的搭配组合,实际我有查看时的耗电量,都是落在21、22W,因此相当地省电。
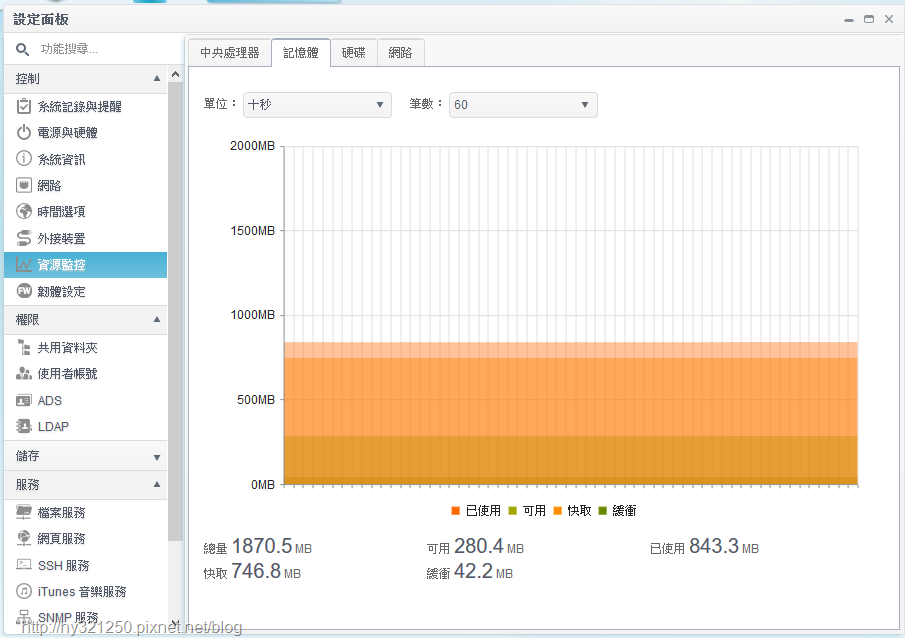
查看系统资源状况时,除了原有在ThecusOS 7里的程式,我只安装了几个APP中心里的多媒体程式,发现预设2G的记忆体剩余可用容量已经不多,所以为了确保NAS运作顺畅,加上现在RAM很便宜(金士顿笔记型DDR3 1600L 8G只要949元就能买到),所以建议在买N2810时就将记忆体容量加大,或是入手后自己升级记忆体。
这次体验这台定位在中小企业使用的2Bay Thecus N2810 NAS,我自己对新版的图形化操作系统ThecusOS 7,以及能硬体直接支援4K影片播放印象最深刻啦!至于,所有我自己觉得N2810软硬体优点与可改善部分,就简单表列如下:
优点
● 图形化操作系统ThecusOS 7,让使用者操作更容易上手
● 能硬体直接支援4K影片播放
● 安装Local Display程式后,不开启电脑也能对N2810进行设定
● 备份设定跟之前相比,相对变得简单
● 自行更换记忆体还不难
● 支援提供系统容错转移机制可改善部分
● ThecusOS 7部分中文说明容易让人误解,而透过APP中心安装的程式,我找不到拉捷径到桌面的方式
● 部分App程式不在APP中心里,需要以手动方式下载安装使用
● T-OnTheGo App发生无法播放N2810里的影片档问题最后,Thecus N2810 NAS搭配2颗8TB Seagate NAS HDD的组合,对于进阶家庭使用者与中小企业用户来说,可以使用好一段时间都不需要换机器。另外,改成图形化操作的ThecusOS 7,虽然跟S家与Q家的操作系统还有一段差距,但对不熟NAS的使用者来说,也因为相对比旧版本ThecusOS来得容易上手,相信这些使用者对Thecus NAS的接受度也会相对提高而考虑入手使用的。


