上星期在觀星會網站看到炫大的 "
自製魚骨對焦板 (Bahtinov 面罩) " 分享,讓我想起了,之前用珍珠板做的對焦板,真的是做的有夠醜..
 http://bbs.mychat.to/reads.php?tid=756015&keyword=%E5%B0%8D%E7%84%A6
其實之前也是找不到合適的材料來做對焦板,因為山上濕氣重,所以不能用厚紙板,如果用鋁板又怕太重,而塑膠板又不知道要去那裡買,看到炫大這篇才想到去文具行買塑膠材質的卷宗夾也可以用,真是省錢的方法..
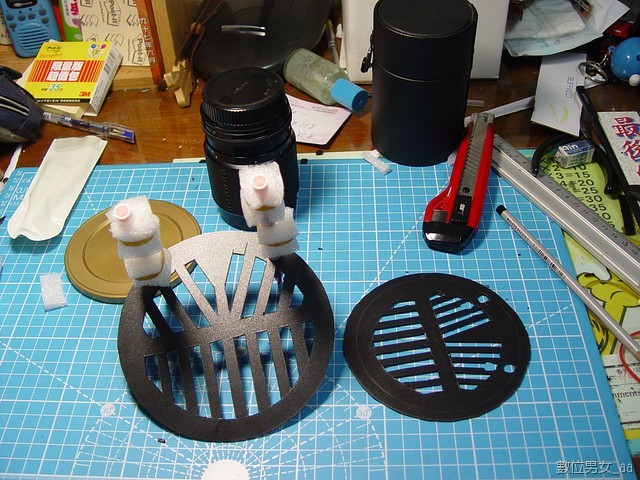
我去文具店買塑膠材質的卷宗夾一個才85元,先把左右兩頁剪下來,準備鉛筆、圓規、尺、美工刀、兩支不要的原子筆
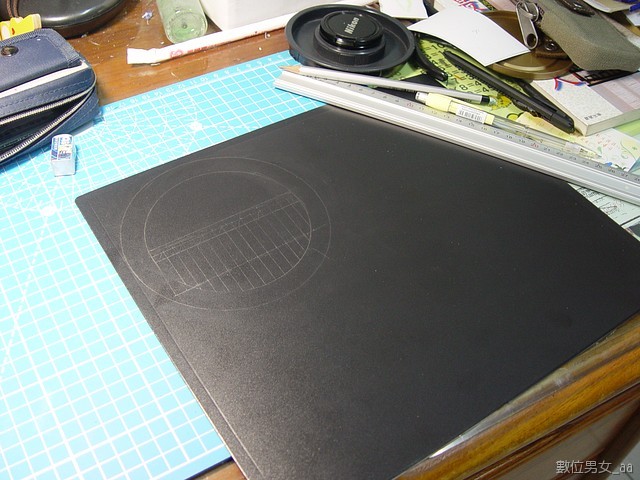
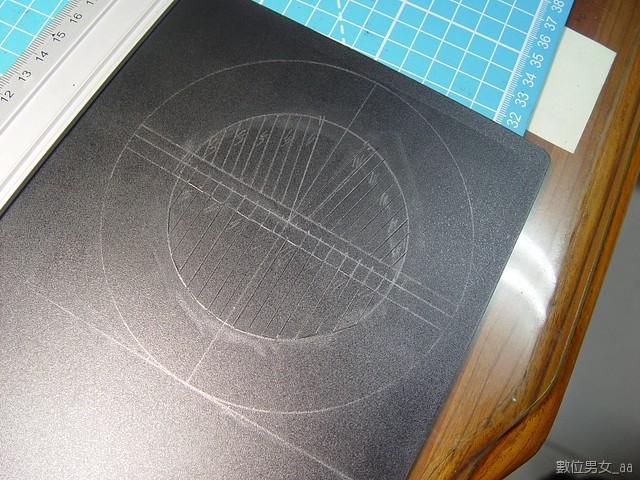
這是畫好的完成圖,其中左右兩邊的夾角為 20度
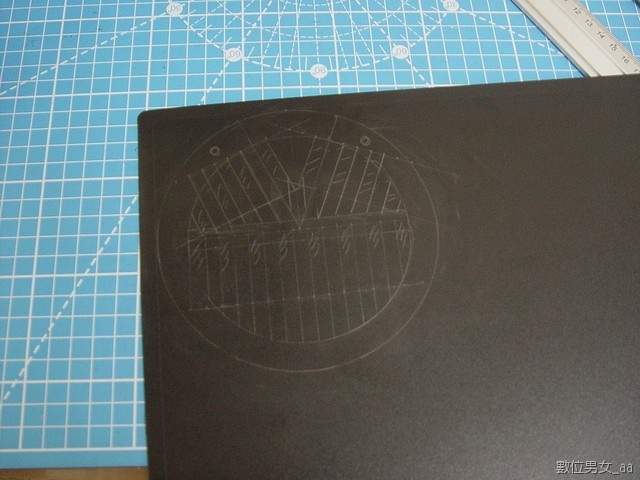
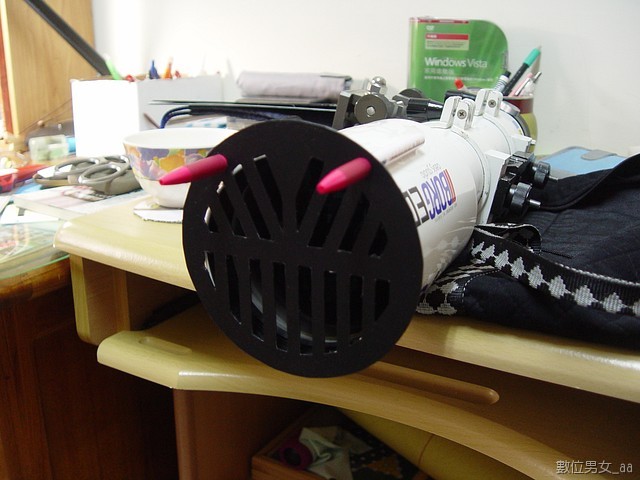
再來就是用美工刀把他割出來,以下是完成圖,然後找兩支不要的厚子筆做支撐架

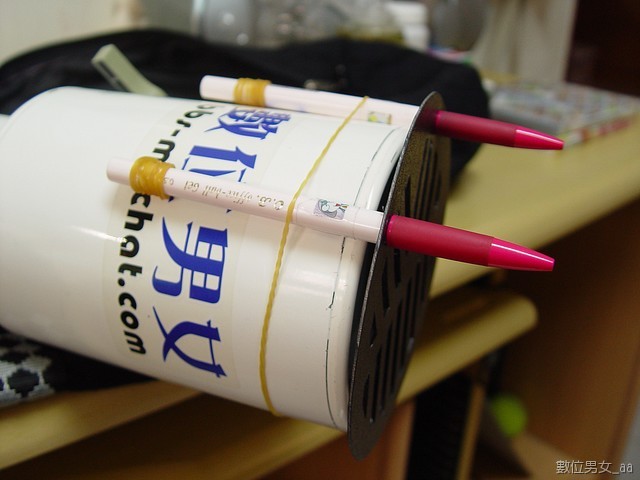
這是架上去的情形
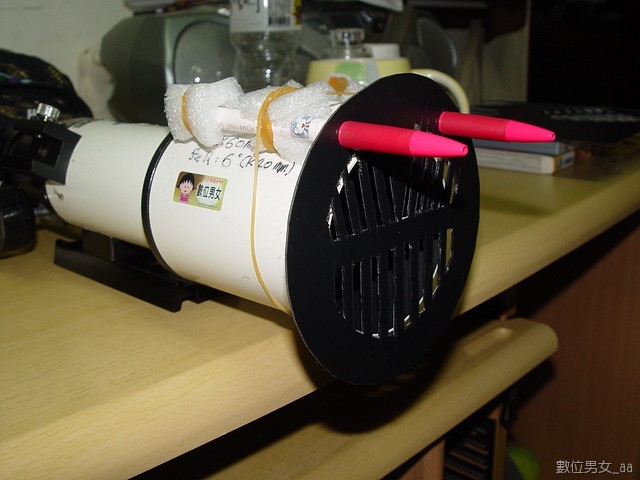
因為這個很輕,如果風大可能會被吹走,所以我加一條橡皮筋綁起來
上面是 BORG 100ED 用的對焦板,所以我再做一個相機鏡頭及導星鏡用的對焦板
這是完成圖,我買的卷宗夾有點厚,所以美工刀要用大隻的,我做完這兩個手酸了兩天..
這是架到導星鏡上的樣子
接著做 C8 用的對焦板
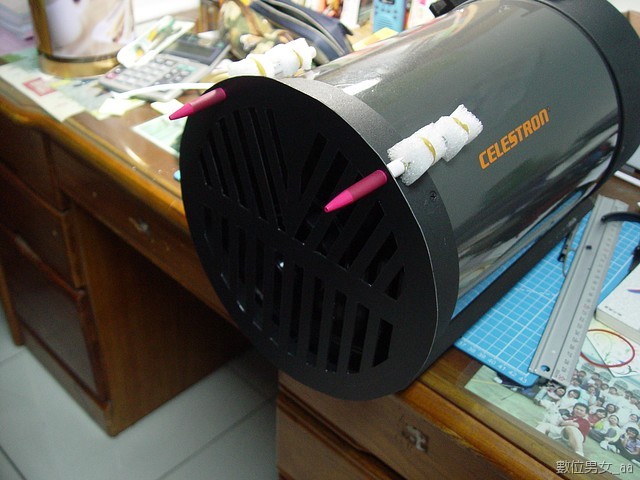
這是完成圖

再來就是要實測看看了,我忘了拍沒有對焦的照片,所以以下兩張都是對好的情形
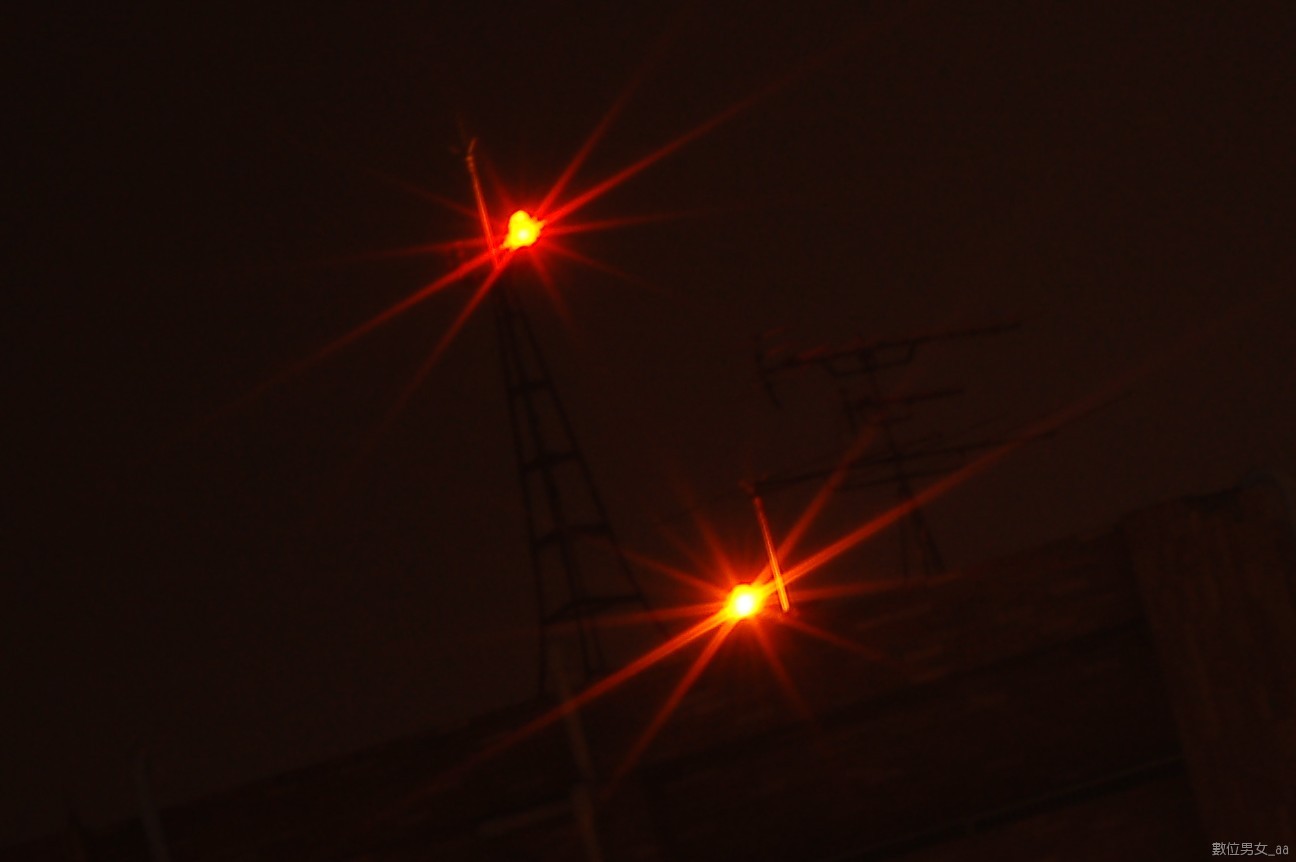
做好對焦板後,因為塑膠板還有剩,所以我就拿來做十字星芒板..

本來炫大是建議我用兩根鐵棒來做,我想想,反正塑膠板還有剩,還拿來做看看


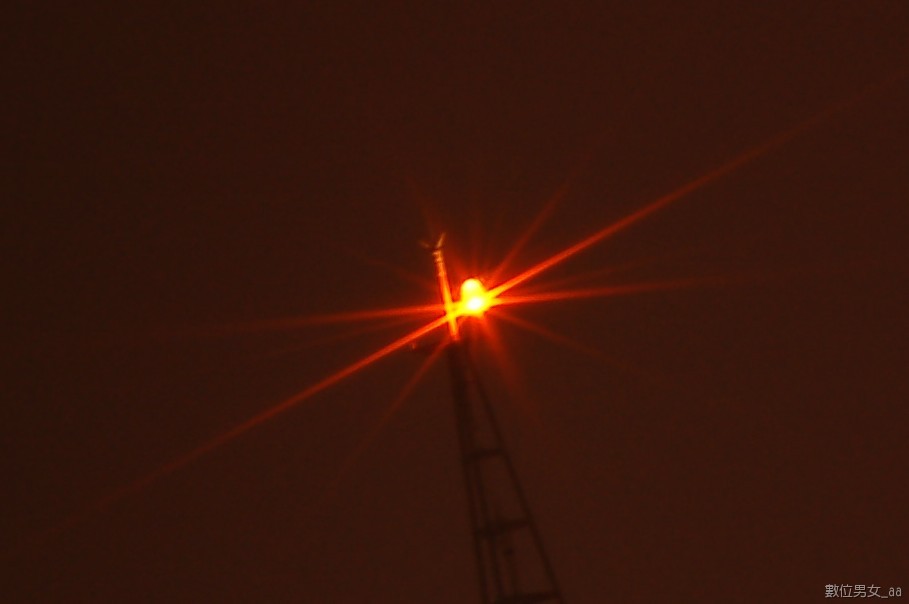
不知道是不是因為燈太亮,我用十字星芒板拍出來的星芒有點分叉..
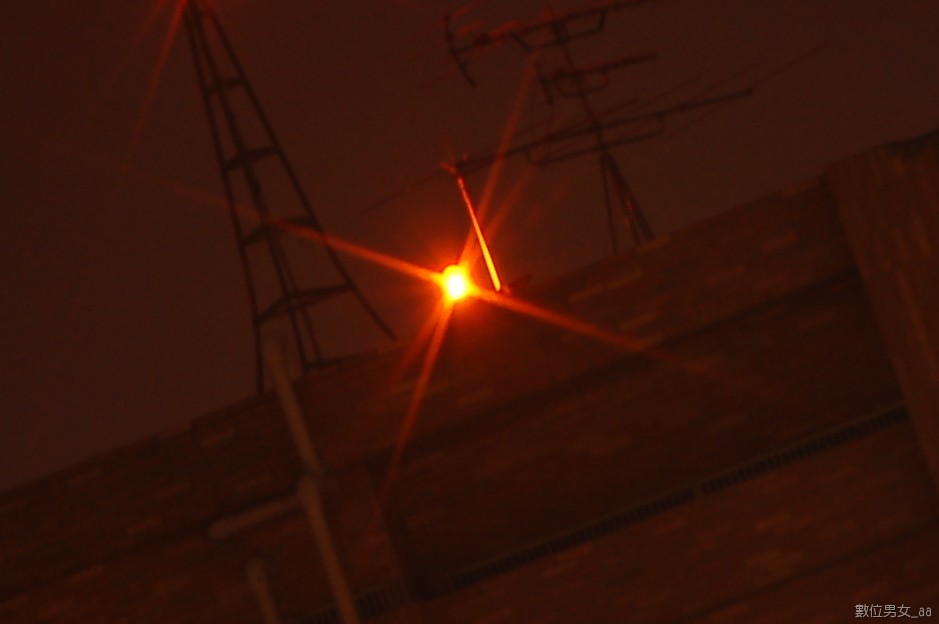
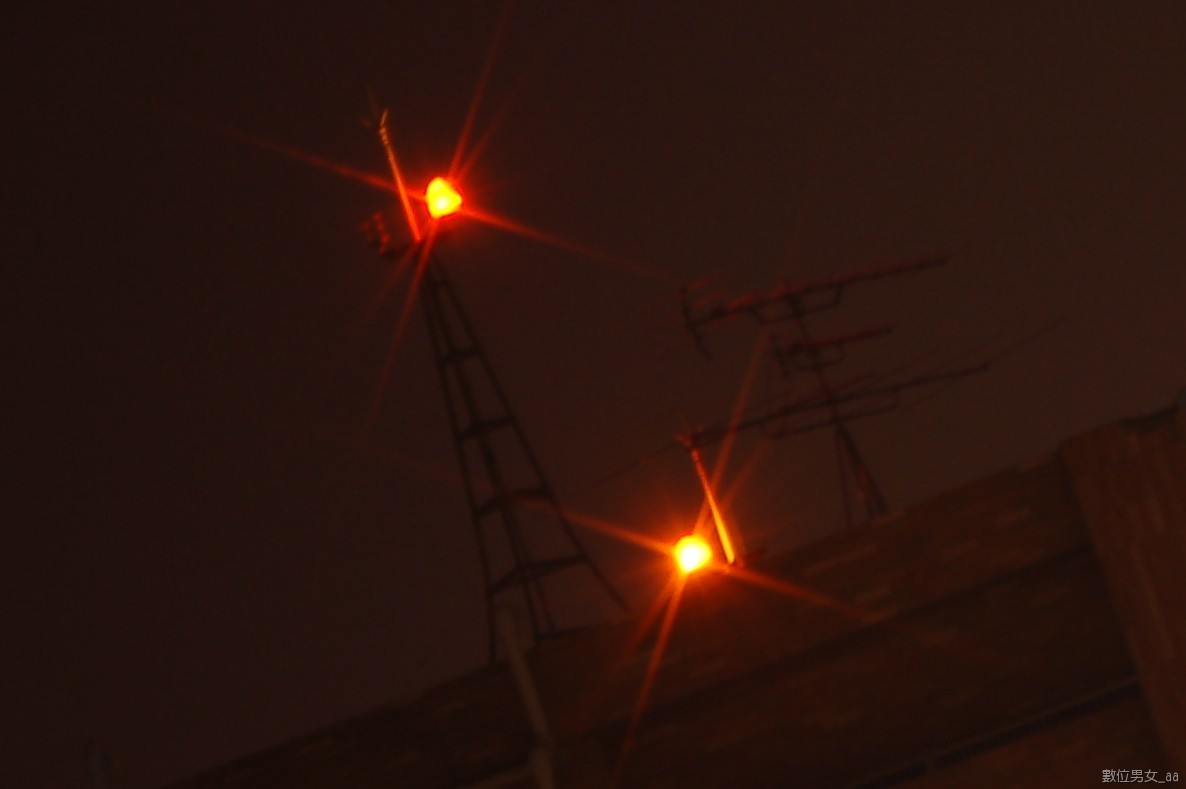
想問一下炫大,那個十字星芒板中間的十字要細一點的話,那星芒會不會比較細?


